Microneedling Guide: Prep, Aftercare and What to Expect
Curious about microneedling? Learn how to prepare your skin, what to expect during and after the procedure, and essential aftercare for best results.

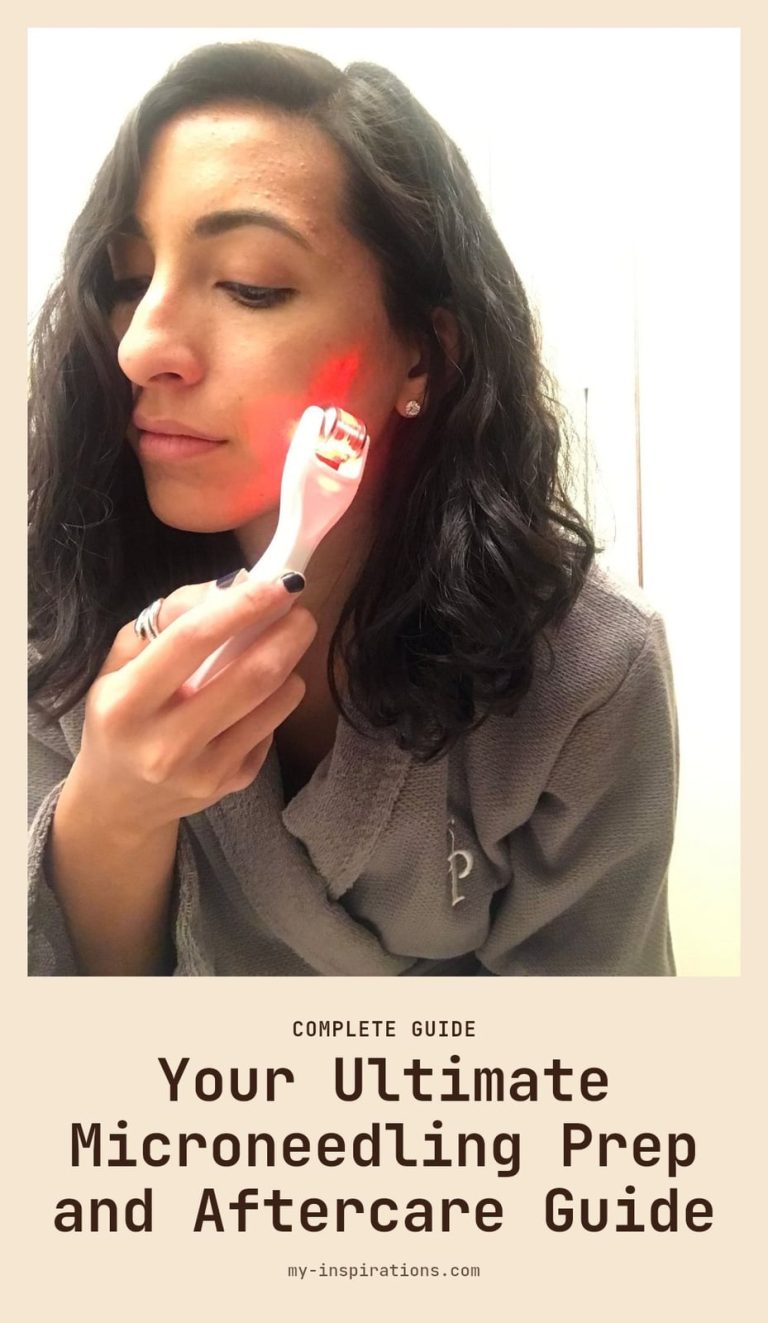
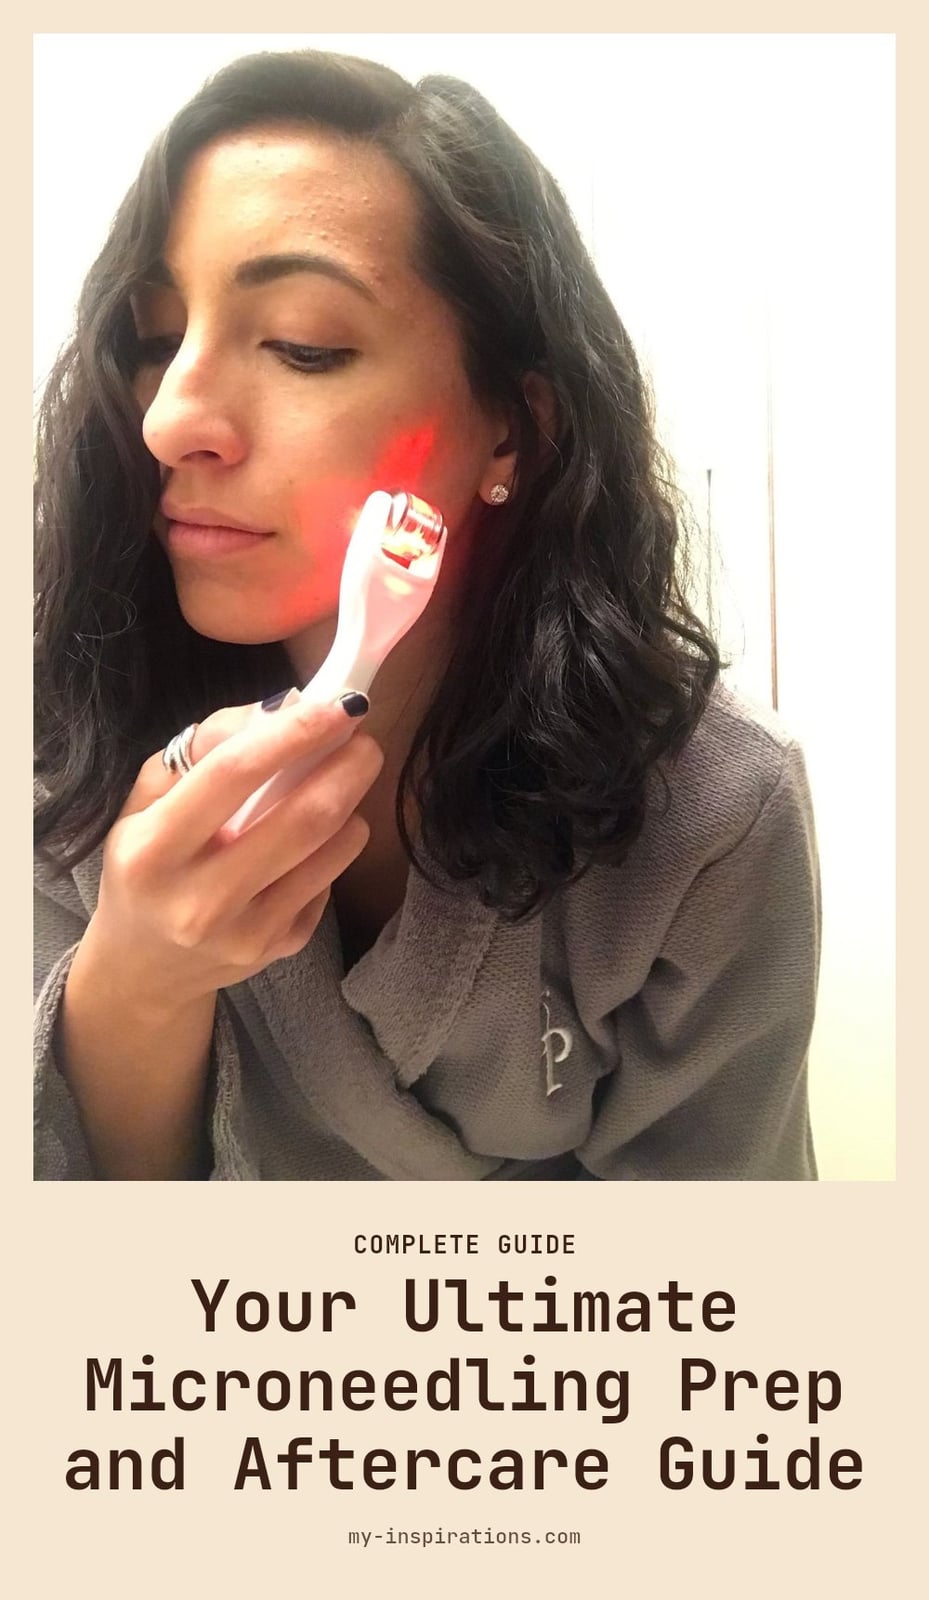
If you’ve been curious about microneedling to smooth fine lines or improve acne scars, you’re not alone. This collagen-induction therapy creates tiny punctures in the skin to spark your body’s natural healing response. In this guide, I’ll walk you through how it works, what you need for a safe at-home session, and the aftercare steps that make all the difference.
Key Takeaways
- Use needle lengths between 0.2mm and 0.5mm for at-home microneedling to avoid injury.
- Always disinfect your device with 70% isopropyl alcohol before and after each use.
- Apply a hydrating serum like hyaluronic acid immediately after treatment to support healing.
- Protect skin with SPF 30 or higher daily for at least a week post-procedure.
- Space sessions 4-6 weeks apart for professional treatments to allow full recovery.
What is Microneedling and How Does it Work?
Microneedling uses a device with fine needles to create tiny punctures in the top layer of your skin. These micro-injuries trigger your body’s natural wound-healing response, which ramps up collagen and elastin production. That’s why it’s also called collagen induction therapy (CIT). Over time, this process can help improve skin texture, tone, fine lines, wrinkles, and the appearance of scars.
Your Microneedling Essentials for At-Home Treatment
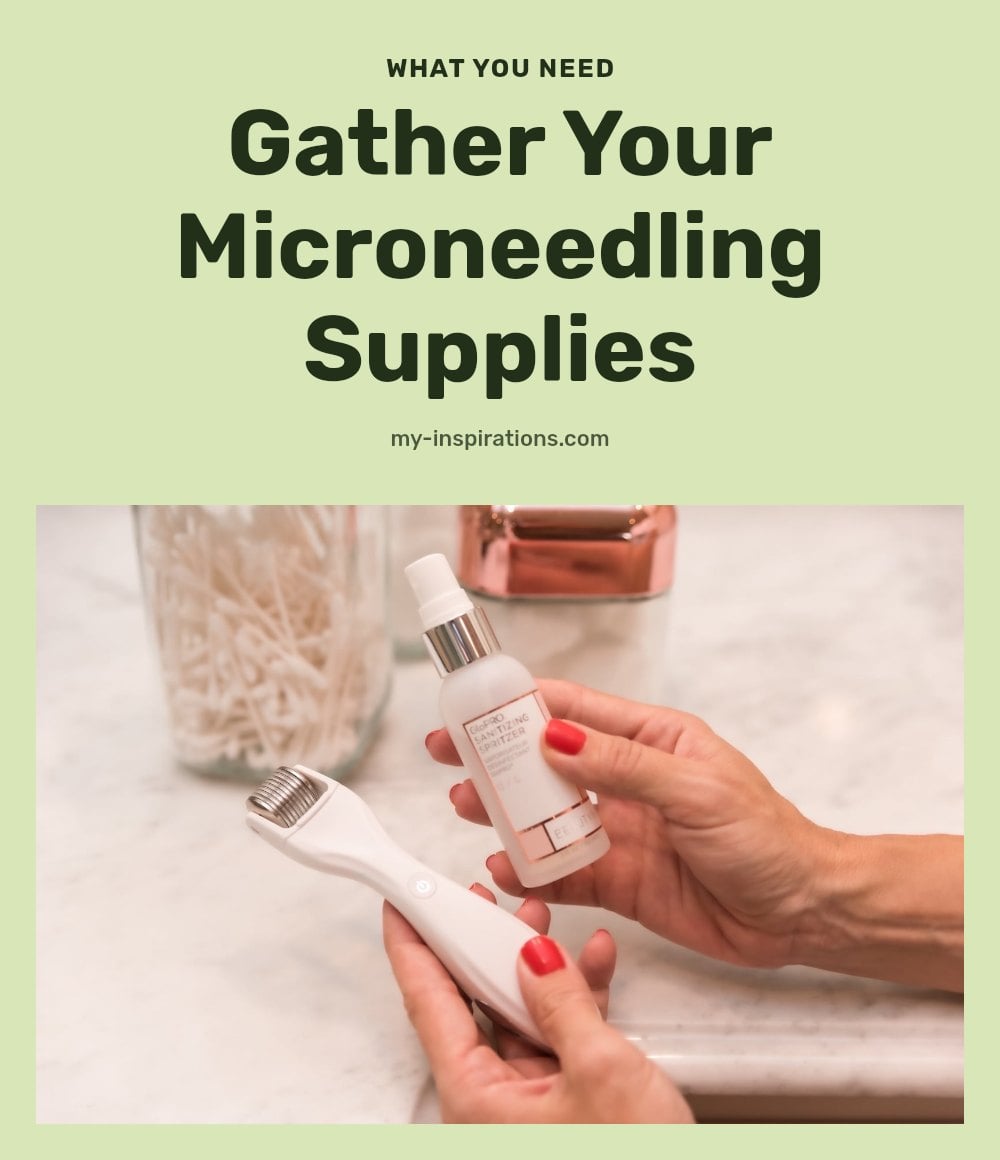
Before you start, gather everything you need for a clean, effective session. Here’s my checklist:
- Microneedling device: A dermaroller or dermapen with needles between 0.2mm and 0.5mm for home use.
- Antiseptic solution: Isopropyl alcohol (70%) to disinfect your device and skin. This is non-negotiable to prevent infection.
- Gentle cleanser: To thoroughly wash your face before treatment.
- Hydrating serum: Hyaluronic acid works well to calm and hydrate right after.
- Broad-spectrum sunscreen: SPF 30 or higher for daily use post-treatment.
- Gentle moisturizer: To support your skin barrier while healing.
- Topical anesthetic (optional): A numbing cream can reduce discomfort, especially if you’re sensitive.
Step-by-Step: How to Microneedle Safely at Home
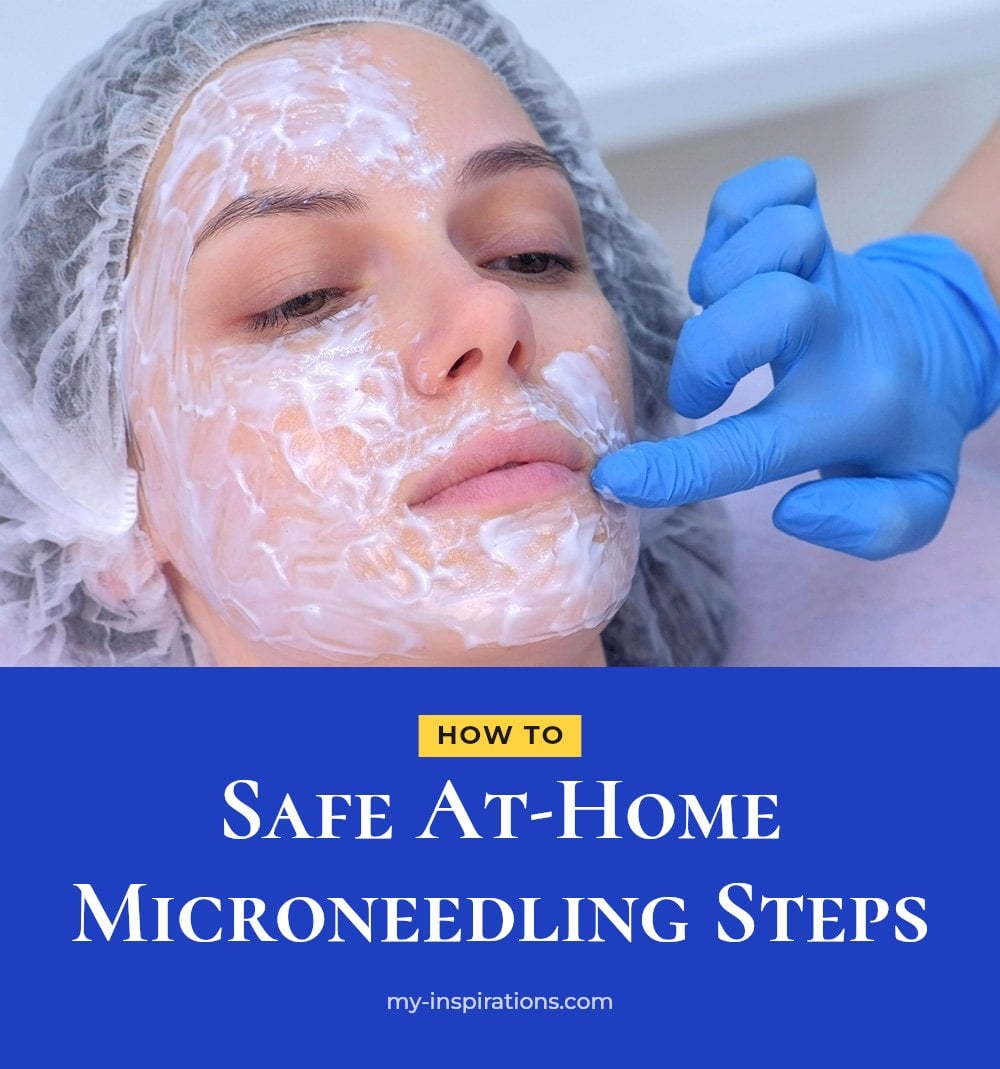
- Cleanse your skin: Wash your face with a gentle cleanser and pat dry. Follow with an antiseptic solution on a cotton pad to disinfect the area. This removes bacteria and oils that could cause breakouts or infection.
- Disinfect your device: Soak or wipe your dermaroller or dermapen with isopropyl alcohol (70%) for a few minutes. Never skip this, even if it’s new. Let it air dry completely.
- Choose the right needle length: For at-home, stick to 0.2mm to 0.5mm. Longer needles are for professionals and increase injury risk if used incorrectly. Start with the shortest length if you’re new.
- Roll or stamp gently: Apply even, light pressure. Move the device in vertical, horizontal, and diagonal directions (if using a roller) or press gently (if using a pen). Avoid active acne, open wounds, cold sores, or any irritated areas. You should feel slight discomfort, not pain.
- Apply hydrating serum: Right after, apply a hyaluronic acid serum. Your skin is more receptive, and this helps lock in moisture and support healing. Don’t use active ingredients like vitamin C or retinoids at this stage.
- Disinfect again: Clean your device with alcohol after use and store it in a dry, clean place. Never share your device with anyone.
Essential Aftercare for Post-Microneedling Skin

Your skin will look red and feel sensitive, similar to a sunburn, for a day or two. Here’s how to care for it:
- Sun protection: Apply SPF 30 or higher every morning, even indoors. Your skin is extra vulnerable to UV damage, and skipping this can lead to hyperpigmentation. Avoid direct sun and tanning beds for at least a week.
- Moisturize regularly: Use a gentle, fragrance-free moisturizer to keep your skin hydrated and support the healing barrier.
- Skip active ingredients: Avoid harsh exfoliants, retinoids, and vitamin C serums for at least 48 hours after treatment. They can irritate your skin.
- Don’t pick: If your skin flakes, let it shed naturally. Picking can cause scarring or infection.
- Wait between sessions: Give your skin time to recover. For at-home with shorter needles, wait 2 to 4 weeks between treatments. Professional sessions are usually spaced 4 to 6 weeks apart.
Common Microneedling Mistakes to Avoid
Pressing too hard with your device is a common mistake. Excessive pressure can damage the skin and lead to bruising or scarring. Use light, even pressure and let the needles do the work.
Sterilization is non-negotiable. Improper cleaning of your device can introduce bacteria and cause infection. Disinfect with 70% isopropyl alcohol before and after every use, and never share your device.
Microneedling too often prevents your skin from healing properly. Stick to a schedule of every 2-4 weeks for at-home sessions. More frequent treatment can irritate the skin and reduce results.
Skipping sunscreen is a big mistake. After microneedling, your skin is more sensitive to UV rays, and unprotected sun exposure can lead to hyperpigmentation. Apply SPF 30 or higher daily.
Using needles longer than 0.5mm at home increases the risk of injury and infection. Longer needles are meant for professionals. Stick to 0.2mm-0.5mm for at-home use.
Microneedling Results: Timeline and Frequency
Don’t expect overnight changes. Collagen production takes time, so you’ll likely notice improvements in skin texture and tone after several weeks, with full results appearing over a few months. Most people need a series of sessions to see meaningful change.
Professional treatments are typically spaced 4 to 6 weeks apart, giving your skin enough time to rebuild collagen. At-home sessions with shorter needles (0.2mm to 0.5mm) can be done every 2 to 4 weeks. Consistency matters more than frequency.
Cost tiers: Professional microneedling costs significantly more per session than at-home devices, but the deeper needles and clinical setting offer more dramatic results. At-home options are budget-friendly but require patience and strict hygiene for subtle improvements.
When to Consult a Dermatologist
Before your first session, check in with a dermatologist if you have any underlying skin conditions, such as eczema, psoriasis, or rosacea, or if you take medications that affect healing or blood clotting. They can tell you whether microneedling is safe for your skin type and adjust the plan if needed.
Skip microneedling altogether if you are pregnant or breastfeeding, or if you have a history of keloid scars. During recovery, watch for signs of trouble: excessive pain, redness that lasts more than a few days, swelling, pus, or fever. These can point to an infection or an adverse reaction, so contact a professional promptly rather than waiting it out.
Frequently Asked Questions
How long do microneedling results last?
Results aren’t permanent because your skin continues to age. Many people see improvements last several months to a year, especially with maintenance sessions every 6 to 12 months. Individual factors like your skin type and lifestyle also play a role.
Can microneedling help with large pores?
Yes, it can. The increased collagen production helps firm the skin around pores, which can make them appear smaller. It’s not a permanent fix, but regular treatments can keep pores looking less noticeable over time.
Is microneedling painful?
Most people describe it as a mild scratching sensation. At-home devices with shorter needles cause minimal discomfort, while professional treatments may use a topical numbing cream to keep you comfortable. The sensation usually fades quickly.
What should I avoid before microneedling?
Avoid active ingredients like retinoids, vitamin C, and exfoliating acids for at least 24 to 48 hours before your session. Also skip sun exposure and tanning. Clean, bare skin reduces the risk of irritation and infection during the procedure.
Can I do microneedling if I have sensitive skin?
It depends on your skin’s condition. If you have active eczema, psoriasis, or rosacea, it’s best to skip microneedling until those are under control. For mild sensitivity, start with a very short needle (0.2mm) and test a small area first. A dermatologist can give you personalized advice.
Final Thoughts
My tip is to start with the shortest needle length and focus on consistency rather than pressure. Realistic results take several weeks to months, so plan for a series of sessions spaced 4-6 weeks apart. Stick with the aftercare routine, and your skin will thank you.
This article provides general information about microneedling and is not a substitute for professional medical advice. Always consult a dermatologist or licensed professional before starting any new skin treatment, especially if you have underlying conditions or are on medications. If you experience signs of infection or severe reaction, seek medical help promptly.