How to Jump Rope Correctly: Easy Beginner Workout at Home
Learn how to jump rope correctly with our easy beginner workout plan. Improve cardio, coordination, and burn calories right at home.

Jumping rope is one of the most efficient cardio workouts you can do at home, and it doesn’t require a ton of space or expensive gear. But getting the technique right from the start makes all the difference between a smooth, effective session and one that leaves you frustrated or sore. This article covers the proper form, a beginner-friendly workout plan, and the common mistakes to avoid so you can jump with confidence.
Key Takeaways
- Choose a rope where the handles reach your armpits when you stand on the middle.
- Jump only one to two inches off the ground and land softly on the balls of your feet.
- Rotate the rope with your wrists, not your whole arms, and keep your elbows close to your body.
- Start with 30 seconds of jumping followed by 30 to 60 seconds of rest for 10 to 15 minutes total.
- Practice on a smooth, even surface and wear supportive athletic shoes to reduce impact.
Mastering the Jump Rope for a Great Workout
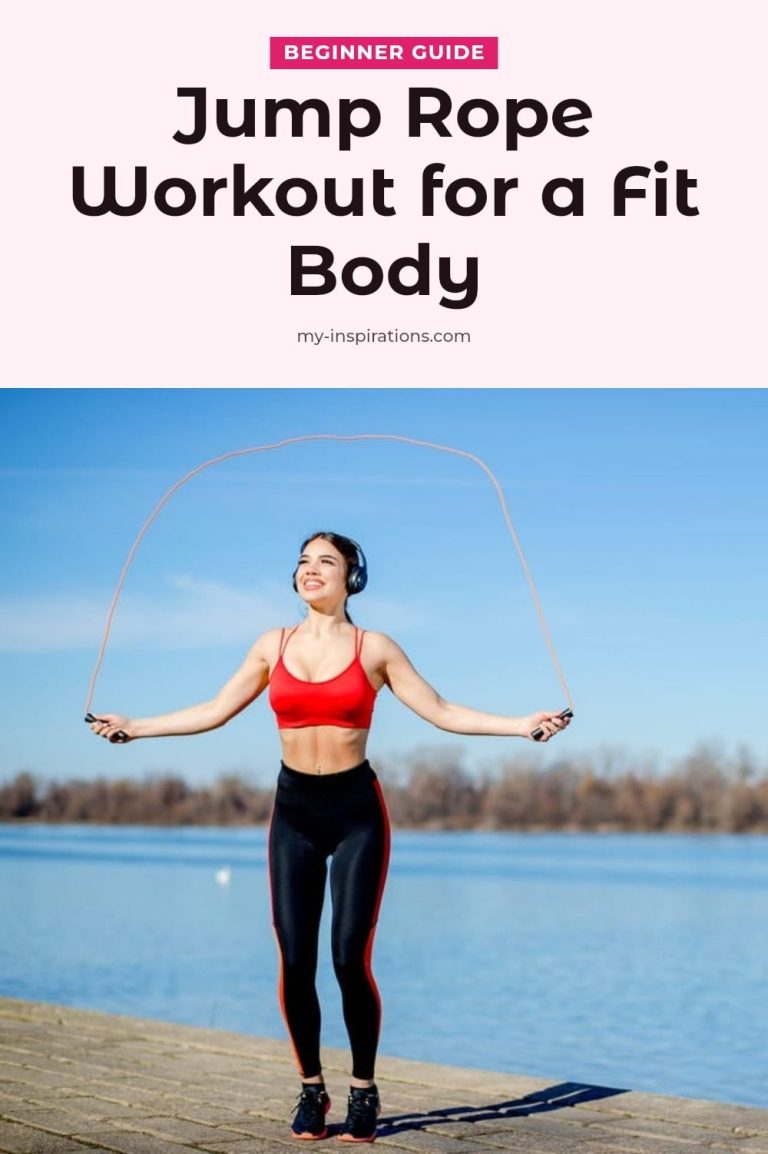
Jumping rope is a full-body cardio workout you can do almost anywhere, engaging your calves, quads, glutes, core, shoulders, and forearms while burning calories at a rate comparable to or higher than running. Proper technique makes it both effective and safe: keep your shoulders relaxed, elbows close to your body, and use only your wrists to rotate the rope. Jump just an inch or two off the ground, land softly on the balls of your feet with a slight bend in your knees, and let your heels barely touch or stay elevated. My tip: practice the wrist rotation without the rope first to get the feel before you start jumping. This exercise scales easily, beginners can start with short intervals and gradually build endurance, making it a versatile addition to any fitness routine.
1. Warm-Up: Arm Circles
Stand with your feet shoulder-width apart and extend your arms straight out to the sides. Make small forward circles with your arms for 30 seconds, then reverse the direction for another 30 seconds. This dynamic stretch warms up your shoulder joints and prepares them for the rope rotation.
- Time: 30 seconds forward, 30 seconds reverse
- Form cue: Keep your arms at shoulder height and make the circles small and controlled
- Make it easier or harder: Use larger circles for more range of motion, or smaller circles to focus on joint mobility
2. Warm-Up: Ankle Rotations
Lift one foot slightly off the ground and gently rotate your ankle in circles. Perform 10 rotations clockwise, then 10 counter-clockwise, and repeat with the other foot. This prepares your ankles for the repetitive impact of jumping and reduces the risk of strain.
- Sets and reps: 10 each direction per ankle
- Form cue: Keep the movement slow and controlled, using only your ankle
- Make it easier or harder: Trace larger circles for more mobility, or smaller circles for a gentle warm-up
3. Basic Two-Foot Bounce

Hold the rope handles with your elbows tucked close to your body and use only your wrists to swing the rope. Jump just an inch or two off the ground, just enough to clear the rope, and land softly on the balls of your feet with a slight bend in your knees. Aim for 30 seconds of continuous jumping, focusing on a light, consistent bounce.
- Time: 30 seconds jumping, 30-60 seconds rest
- Form cue: Keep your gaze forward, not down at your feet, and relax your shoulders
- Make it easier or harder: Reduce jump time to 20 seconds with longer rest, or increase to 45 seconds as you build stamina
4. Alternating Foot Jump
Once the two-foot bounce feels smooth, switch to an alternating foot jump. Land on one foot, then the other, as if you’re jogging in place, keeping the rope rotation wrist-driven and the jumps low.
- Time: 30 seconds of continuous jumping.
- Form cue: Keep your rhythm steady and your gaze forward, not at your feet.
- Make it easier or harder: Slow the rope for practice, or speed it up once the pattern feels natural.
5. High Knees Jump

As the rope swings, bring one knee up toward your chest, then alternate with the other knee on the next jump. Keep your core engaged and aim for a controlled, rhythmic lift rather than speed or height.
- Time: 20-30 seconds of alternating knee lifts.
- Form cue: Lift your knees, don’t jump higher, to keep impact low.
- Make it easier or harder: March with low knees to start, or add a slight hop between lifts for intensity.
6. Cool-Down: Calf Stretch
Stand facing a wall with your hands on it and step one foot back, keeping that heel pressed into the ground. Lean forward until you feel a stretch in your calf and hold for 20-30 seconds, then switch legs. This releases tension built up from the repetitive jumping.
- Time: 20-30 seconds per leg.
- Form cue: Keep your back leg straight and your heel down.
- Make it easier or harder: Bend your back knee slightly for a deeper stretch, or step farther back for more intensity.
7. Cool-Down: Quad Stretch
Stand tall and grab your right ankle with your right hand, gently pulling your heel toward your glutes. Keep your knees together and feel the stretch along the front of your thigh. Hold for 20-30 seconds, then switch legs to stretch your quadriceps after the workout.
- Time: 20-30 seconds per leg.
- Form cue: Keep your standing knee soft, not locked.
- Make it easier or harder: Hold onto a wall for balance, or pull your heel closer to increase the stretch.
Essential Gear for Your Jump Rope Workout
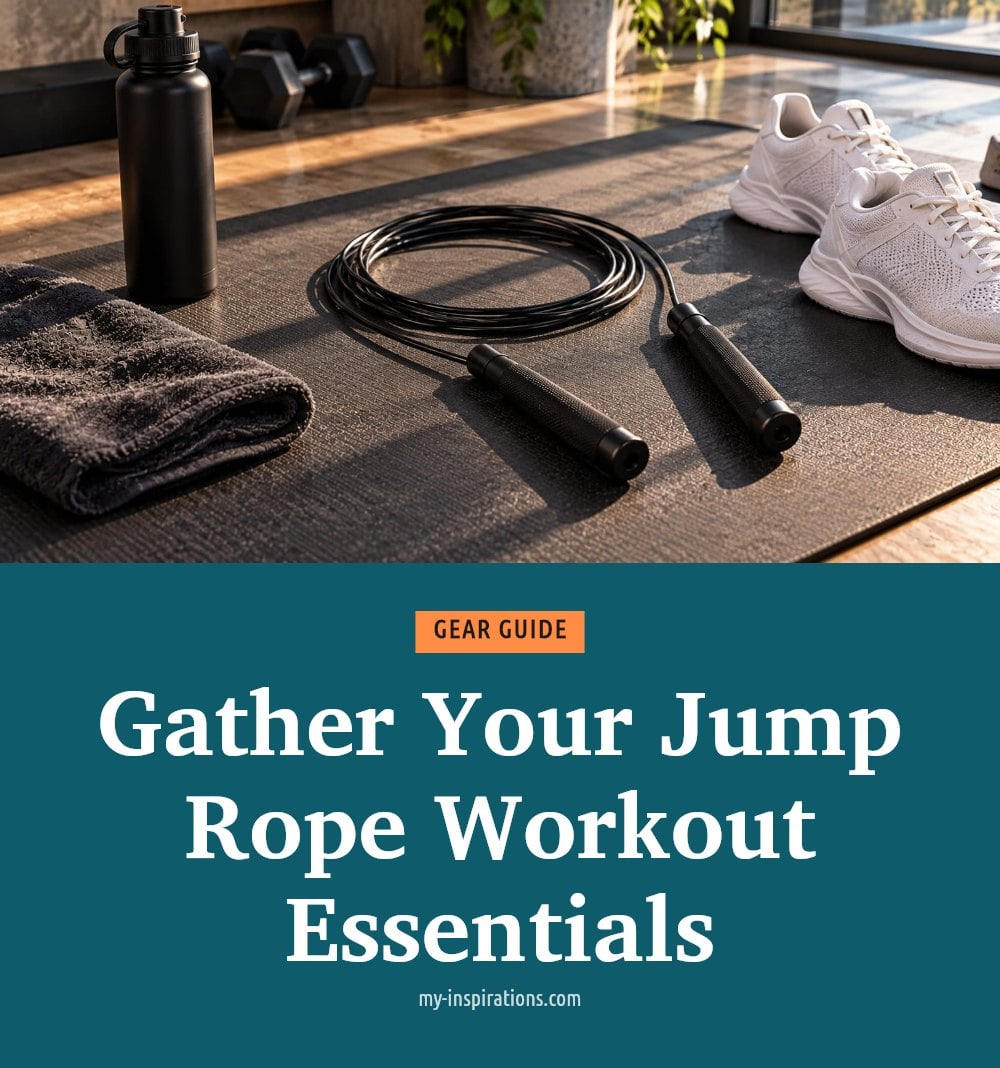
You don’t need much to start jumping rope, but a few key items make a real difference.
- Jump rope: Choose one that fits your height. When you stand on the middle of the rope, the handles should reach your armpits. A rope that’s too long or too short will trip you up and mess with your rhythm.
- Supportive athletic shoes: They cushion the impact and protect your ankles and knees. Don’t jump in worn-out sneakers or barefoot.
- Comfortable athletic clothing: Wear something that lets you move freely without catching on the rope. Avoid baggy pants or loose tops.
- Water bottle: Keep it nearby and sip during rest periods. You’ll sweat more than you expect.
- Timer or stopwatch: Use it to time your intervals and rest periods so you don’t have to guess.
- Exercise mat (optional): A mat provides a softer landing surface, especially on concrete or hardwood floors.
Your Beginner Jump Rope Workout Plan
This 4-week plan builds stamina and coordination gradually. You’ll notice improvements in a few weeks if you stick with it. Always warm up before and cool down after each session, and listen to your body, adjust rest times or intensity as needed.
| Week | Workout (3-4 days per week) | Rest between sets |
|---|---|---|
| 1 | Jump 30 seconds, rest 60 seconds. Repeat 5 times. | 60 seconds |
| 2 | Jump 45 seconds, rest 45 seconds. Repeat 6 times. | 45 seconds |
| 3 | Jump 60 seconds, rest 30 seconds. Repeat 6 times. | 30 seconds |
| 4 | Jump 90 seconds, rest 30 seconds. Repeat 5 times. | 30 seconds |
Tip: If you can’t complete a full interval, shorten the jump time and extend the rest. Progress when you feel ready.
Frequently Asked Questions
How long should a beginner jump rope?
Start with 10 to 15 minutes per session, including warm-up and cool-down. Aim for 30 seconds of jumping followed by 30 to 60 seconds of rest. As your stamina builds, you can gradually increase the jumping intervals or the total duration.
Can jumping rope help with weight loss?
Yes, it can be an effective part of a weight loss plan because it burns a significant number of calories in a short time, often comparable to or higher than running. For best results, combine it with a balanced diet and other forms of exercise.
What kind of jump rope is best for beginners?
A basic PVC or speed rope that fits your height is a great starting point. When you stand on the middle of the rope, the handles should reach your armpits. You don’t need a weighted rope or any special features to learn proper technique.
How often should I jump rope?
Beginners can jump three to four times per week, with at least one rest day between sessions to allow your muscles and joints to recover. Listen to your body and take an extra rest day if you feel soreness or fatigue.
Is jumping rope bad for your knees?
Jumping rope is generally safe for healthy knees when done with proper form, such as landing softly on the balls of your feet and keeping a slight bend in your knees. If you have existing knee issues, consult a healthcare professional before starting, and stop immediately if you feel sharp pain.
Can I jump rope on concrete?
Jumping on concrete is not ideal because it offers very little cushioning and increases impact on your joints. If concrete is your only option, use an exercise mat or a rubber surface to reduce shock, and always wear supportive athletic shoes.
Final Thoughts
Stick with the basic two-foot bounce until it feels natural before adding alternating foot jumps or high knees. You can expect to see noticeable improvements in your stamina and coordination within a few weeks if you jump three to four times per week. The key is consistency over intensity, so keep your sessions short and focused on form.
This article is for general informational purposes only and does not constitute medical or fitness advice. Always consult a healthcare professional before starting a new exercise regimen, especially if you have pre-existing health conditions or joint issues. Stop immediately if you experience pain and seek guidance from a qualified professional.