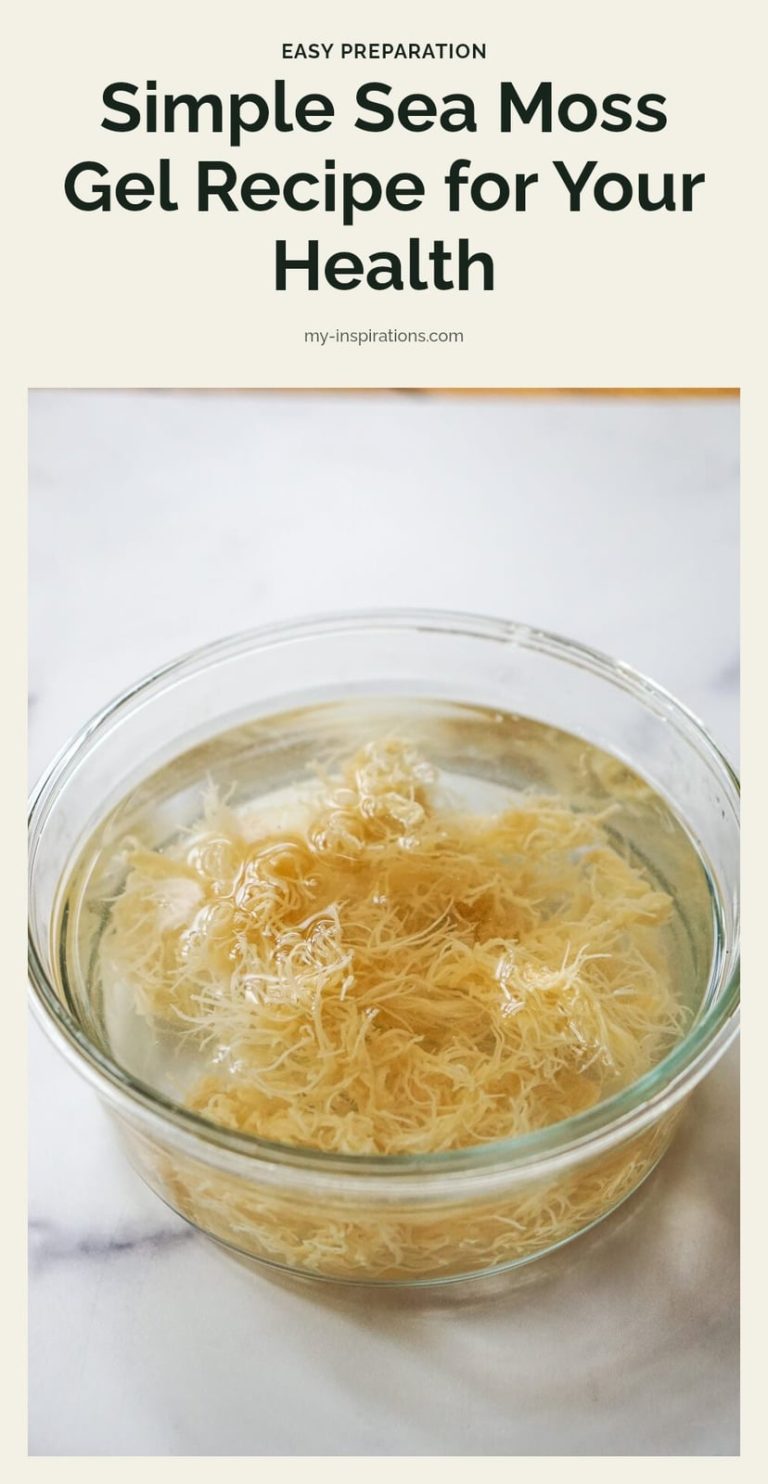
How to Make Sea Moss Gel at Home: A Simple Recipe
Learn how to make your own sea moss gel at home with our simple recipe. Discover the steps for cleaning, soaking, blending, and storing for wellness.

Making your own sea moss gel at home is easier than you might think, and it puts you in complete control of the ingredients. No additives or preservatives, just the algae and water you choose. This article walks you through the simple steps for cleaning, soaking, and blending raw sea moss into a smooth gel you can use in smoothies, soups, or even as a skin treatment.
I’ll share the essential tools you need, common mistakes to skip, and how to store your gel so it stays fresh for weeks. Whether you’re new to sea moss or looking to refine your technique, you’ll find everything here to make a batch that works for you.
Key Takeaways
- Soak dried sea moss in cold filtered water for 4 to 24 hours, changing the water at least once.
- Blend soaked sea moss with fresh filtered water using a high-speed blender for a smooth, consistent gel.
- Store the gel in an airtight glass jar in the refrigerator; it stays fresh for up to 2 to 3 weeks.
- Start with 1 to 2 tablespoons per day when consuming orally to assess your tolerance.
- Consult a healthcare professional before use if you have a thyroid condition, are pregnant, or are breastfeeding.
Why Making Your Own Sea Moss Gel Is a Game Changer
Making your own sea moss gel puts you in full control of what goes into it. No additives, no preservatives, just the algae and water you choose. The process takes minutes of active work after an overnight soak, and you decide the final consistency. Thicker for spooning into smoothies, thinner for pouring into desserts or applying as a mask. And since dried sea moss costs a fraction of pre-made gels, you save money while getting a fresher product.
Your Essential Sea Moss Gel Toolkit
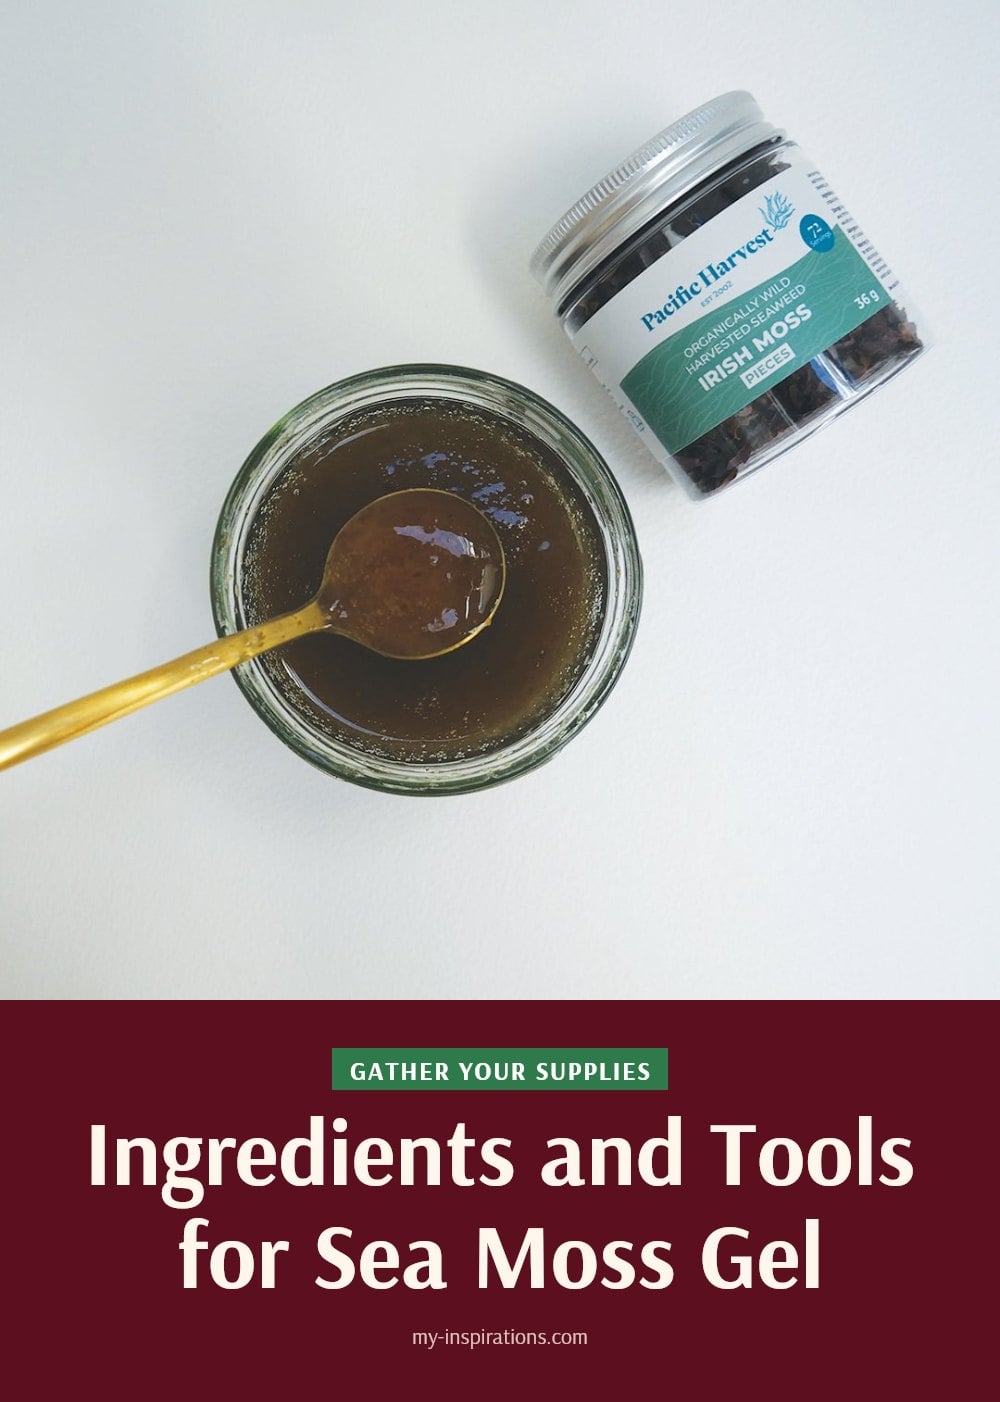
Gather these items before you start. A high-speed blender makes the biggest difference in texture.
- Raw sea moss (dried): Look for wildcrafted varieties for better nutrient profiles.
- Filtered water or spring water: Essential for soaking and blending to avoid contaminants.
- Large bowl: For thoroughly cleaning and rehydrating the sea moss.
- Colander: To drain and rinse the sea moss effectively.
- High-speed blender: Crucial for achieving a smooth, lump-free gel.
- Airtight glass jars: Ideal for safe and prolonged storage in the refrigerator.
Step-by-Step: Crafting Your Perfect Sea Moss Gel
- Clean the sea moss: Place the dried sea moss in a bowl and cover it with cold filtered water. Swish it around, then drain through a colander. Repeat this 3-4 times until the water runs clear and you see no sand or debris.
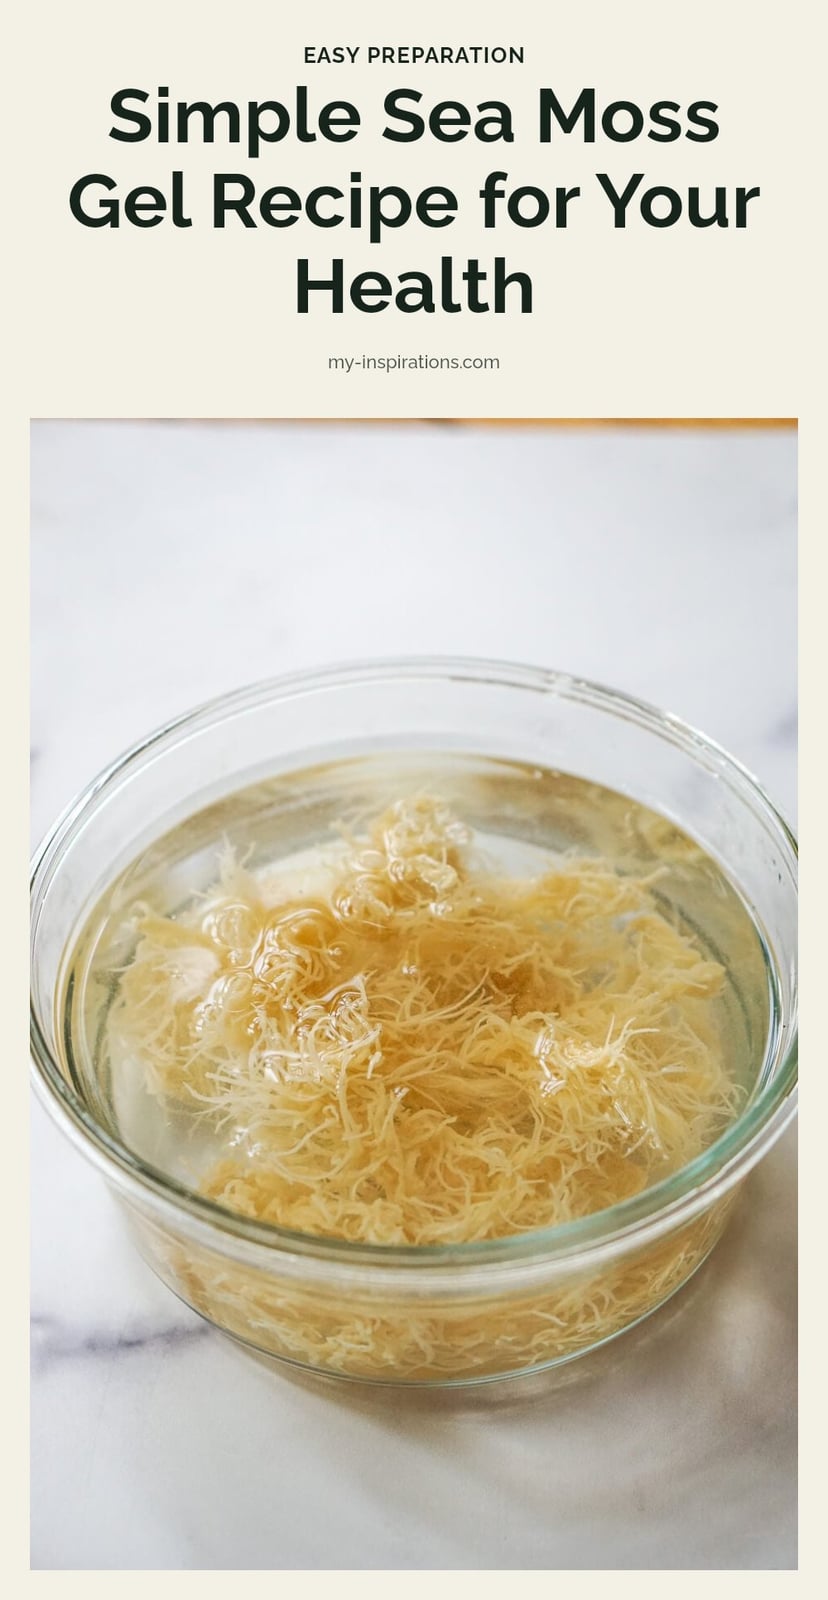
- Soak to rehydrate: Return the cleaned moss to the bowl and cover with fresh cold filtered water. Let it soak for 4 to 24 hours. The longer you soak, the softer it gets. Change the water once halfway through if you can.
- Rinse again: After soaking, drain the moss in the colander and give it one more rinse under cold running water. This removes any remaining ocean particles.
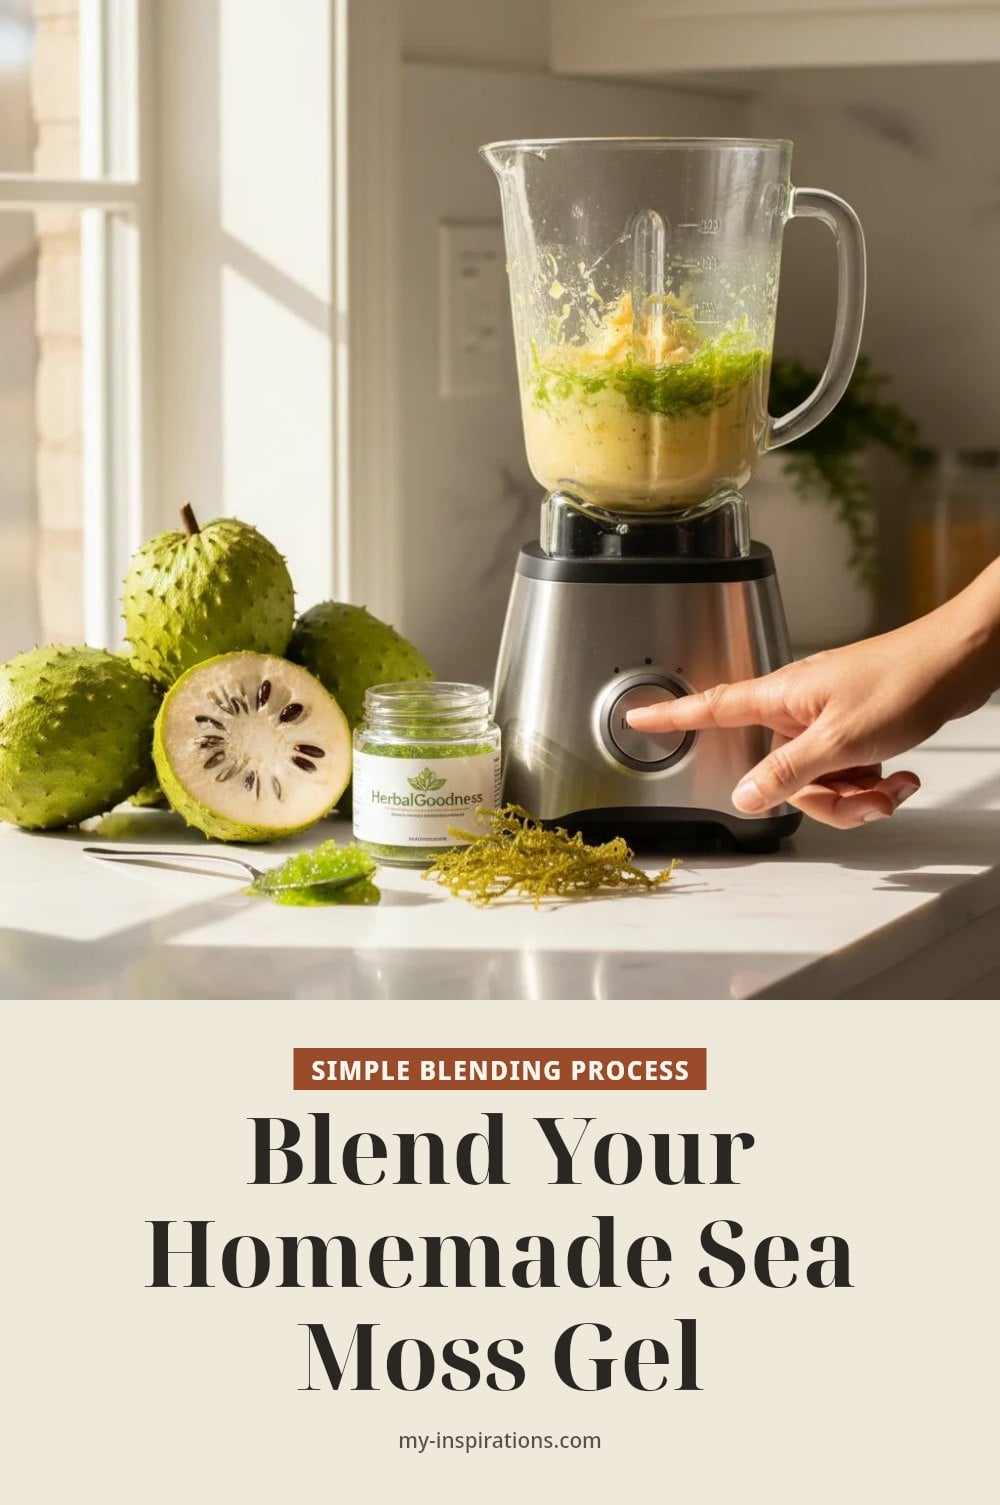
- Blend until smooth: Transfer the rehydrated moss to your blender. Add fresh filtered water, start with about 1 cup for every 1 cup of soaked moss. Blend on high for 30-60 seconds until completely smooth.
- Adjust the consistency: If the gel is too thick for your use, add more water 1 tablespoon at a time and blend again. For a thicker gel, use less water at the start. The gel will thicken slightly as it cools in the fridge.
Top Tips for the Best Sea Moss Gel
- Choose Quality Sea Moss: Always opt for wildcrafted sea moss from reputable suppliers to ensure better nutrient content and minimize potential contaminants.
- Use Cold Water: Always use cold or room temperature filtered water for soaking and blending. Hot water can degrade some of the beneficial nutrients.
- Don’t Over-Blend: Blend until smooth, but avoid over-blending, which can sometimes introduce too much air and affect the texture.
- Start Small: If you’re new to consuming sea moss, start with a small amount (like 1-2 tablespoons per day) to see how your body reacts, especially due to its iodine content.
- Flavor Boost: For a more palatable gel, consider adding a squeeze of lemon or lime juice during blending, or even a touch of natural sweetener like maple syrup if using it in sweet recipes.
Common Mistakes to Avoid When Making Sea Moss Gel
Not Cleaning Thoroughly: Skipping the rigorous cleaning step leads to a gritty gel with sand or ocean debris. Always rinse multiple times until the water runs clear.
Using Hot Water: Soaking or blending with hot water can reduce the nutritional integrity of the sea moss. Stick to cold or room temperature water.
Too Little Water During Blending: This results in a gel that’s too thick and hard to use. Gradually add more filtered water until you reach your desired smooth, spreadable consistency.
Improper Storage: Leaving the gel out or in a non-airtight container will cause it to spoil quickly. Always use clean, airtight glass jars and refrigerate promptly.
Overlooking Iodine Content: Assuming sea moss is a ‘superfood’ without considering its high iodine content can be risky, particularly for thyroid health. Consult a professional about appropriate intake.
Creative Ways to Use Your Homemade Sea Moss Gel
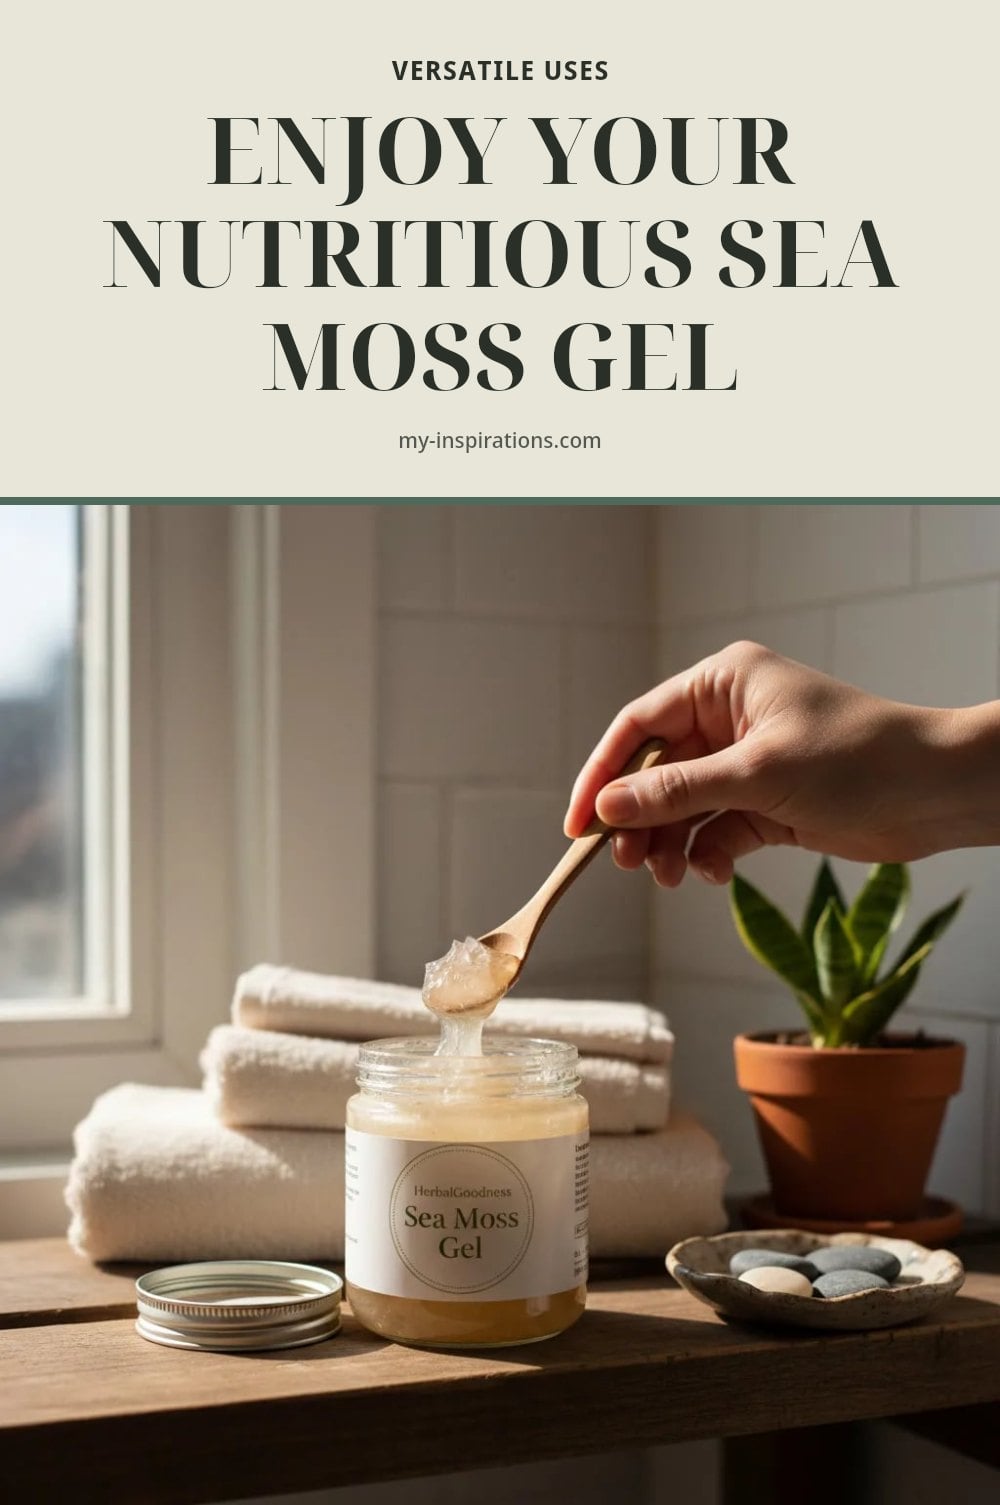
Once you have your gel, it’s surprisingly versatile. Here are some practical ways to use it.
- Smoothie Booster: Add 1-2 tablespoons to your daily smoothie for an extra mineral kick and a thicker texture.
- Thickening Agent: Use it in soups, stews, and sauces as a natural thickener. It’s flavorless, so it won’t alter your dish.
- Dessert Enhancer: Incorporate it into puddings, mousses, or raw dessert recipes for a creamy texture and added nutrients.
- Face Mask: Apply a thin layer directly to clean skin as a hydrating and soothing face mask. Rinse after 15-20 minutes.
- Hair Conditioner: Mix a small amount into your conditioner or apply directly to damp hair for added shine and moisture.
Storing Your Sea Moss Gel for Maximum Freshness
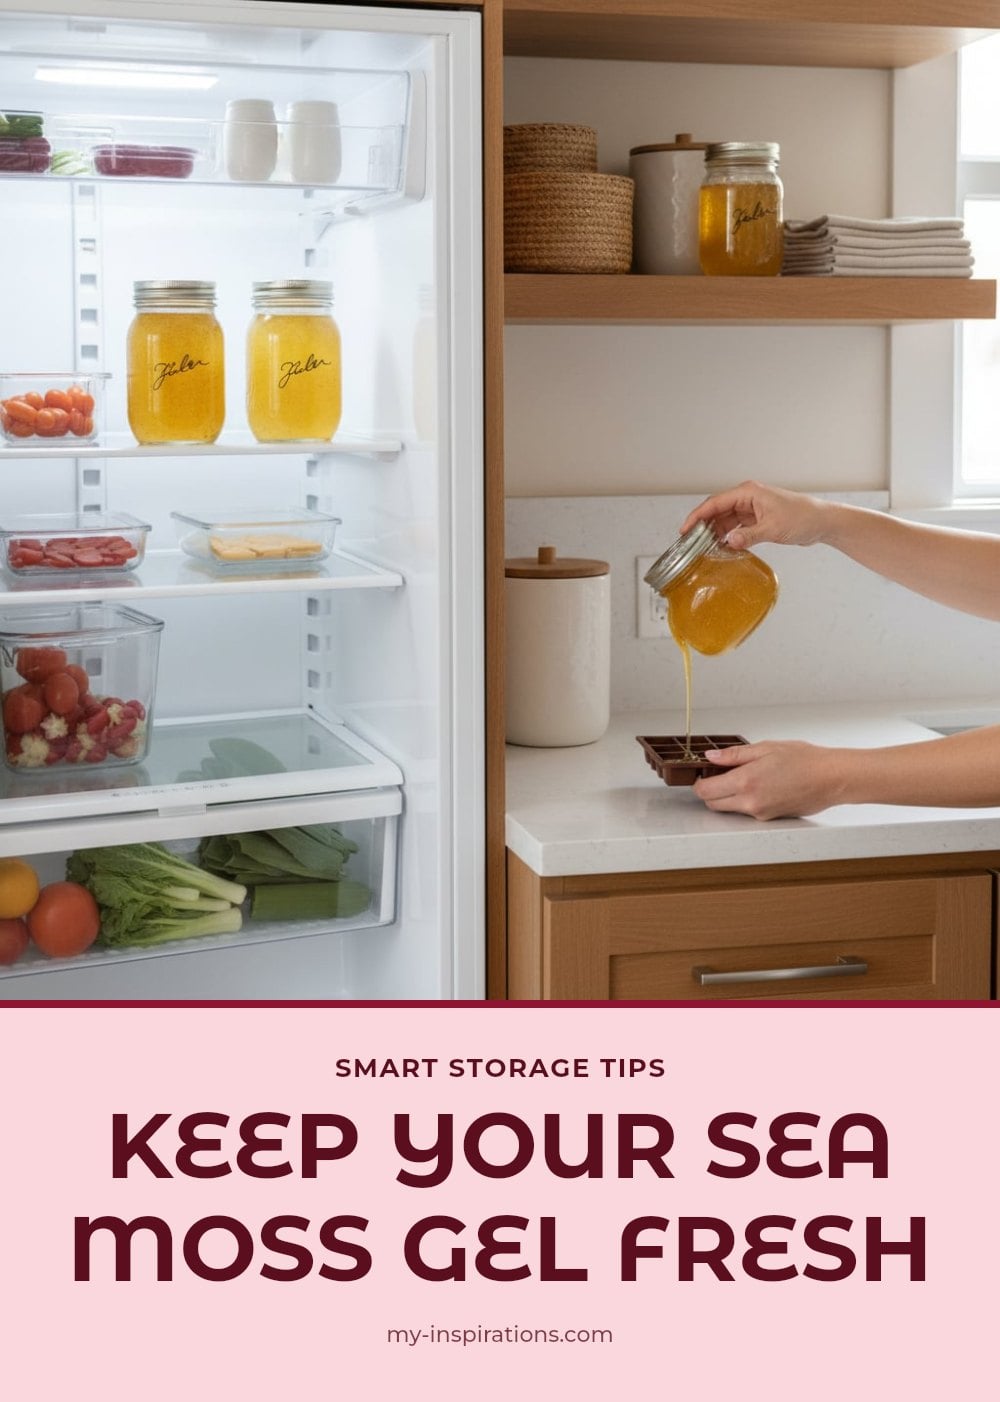
Proper storage keeps your gel fresh and safe to use.
- Refrigerate Immediately: Once blended, transfer your sea moss gel into clean, airtight glass jars and place them in the refrigerator.
- Shelf Life: Properly stored sea moss gel can last for approximately 2-3 weeks in the refrigerator. Always check for any off-smells or discoloration before use.
- Freezing for Longer Storage: For extended shelf life, you can freeze sea moss gel in ice cube trays. Once frozen, transfer the cubes to a freezer-safe bag or container. It can last for several months this way.
- Label and Date: Always label your jars or bags with the preparation date so you know exactly how fresh it is.
When to Consult a Healthcare Professional About Sea Moss
Sea moss is high in iodine, so a quick check-in with a professional is smart before you start.
- Thyroid Conditions: If you have a pre-existing thyroid condition (like hyperthyroidism or hypothyroidism), consult your doctor before consuming sea moss, as its high iodine content can impact thyroid function.
- Pregnancy or Breastfeeding: Always speak with your healthcare provider before introducing new supplements, including sea moss, if you are pregnant or breastfeeding.
- Medication Interactions: If you are taking any medications, especially those for thyroid issues or blood thinners, discuss potential interactions with a professional.
- Adverse Reactions: Discontinue use and consult a doctor if you experience any adverse symptoms such as rapid heartbeat, anxiety, digestive upset, or allergic reactions after consuming sea moss.
Frequently Asked Questions
Can I use tap water to make sea moss gel?
It’s best to avoid tap water for making sea moss gel. Tap water can contain chlorine, fluoride, or other contaminants that may affect both the taste and the nutrient quality of the gel. Using filtered water or spring water is recommended for soaking and blending.
How much sea moss gel should I consume daily?
Start with 1 to 2 tablespoons per day and see how your body responds. Because sea moss is naturally high in iodine, consuming too much can affect your thyroid. If you have any underlying health conditions, it’s wise to talk to a healthcare professional before deciding on a daily amount.
What is the difference between wildcrafted and farmed sea moss?
Wildcrafted sea moss is harvested from natural ocean environments, while farmed sea moss is cultivated in controlled settings. Many people prefer wildcrafted for its potentially higher nutrient content and lower risk of contaminants, though quality can vary by source. The choice often comes down to personal preference and availability.
Can sea moss gel be used topically?
Yes, sea moss gel can be applied directly to the skin or hair as a mask or moisturizer. It’s often used for its mineral content and soothing texture. Just make sure the gel is fresh and free from any signs of spoilage before applying it to your skin.
Why does my sea moss gel smell like the ocean?
A mild ocean-like smell is perfectly normal for sea moss gel, since it comes from a seaweed. However, if the odor becomes strong, sour, or unpleasant, it may be a sign that the gel has spoiled. When in doubt, it’s safer to discard it and make a fresh batch.
Final Thoughts
Making sea moss gel at home is a straightforward process that gives you a versatile ingredient for both the kitchen and your beauty routine. My tip: always soak the moss in cold filtered water and change it at least once during the soak to ensure the best texture and mineral retention. Expect your first batch to be ready after an overnight soak and just a few minutes of blending, and you can keep it in the fridge for up to three weeks. Once you get the hang of it, you’ll have a staple that adds a nutrient boost to smoothies and a thickening touch to soups without any mystery ingredients.
The information in this article is for general informational purposes only and does not constitute medical or professional advice. Sea moss can interact with certain health conditions and medications, especially due to its iodine content. Consult a doctor or a qualified healthcare professional before adding sea moss to your diet or routine, particularly if you have a thyroid condition, are pregnant, or are breastfeeding.