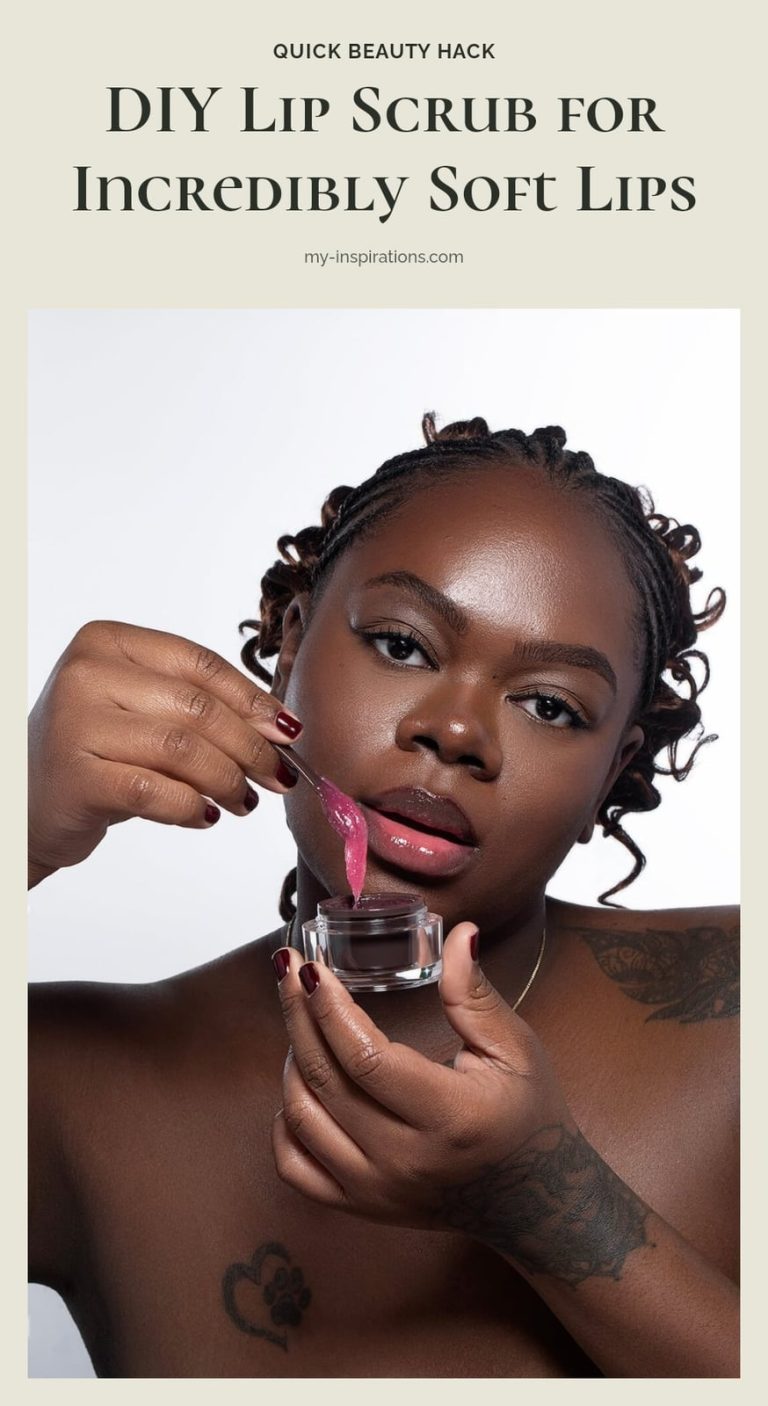
How to Make a Homemade Lip Scrub in 5 Minutes for Soft Lips
Learn how to make an easy homemade lip scrub in just 5 minutes using common kitchen ingredients. Get soft, smooth lips naturally and effectively.

Dry, flaky lips can be a real nuisance, especially when you want your lipstick to glide on smoothly. A homemade lip scrub is a simple, gentle way to buff away dead skin and reveal the soft, fresh layer underneath. In this article, I’ll show you a quick 5-minute recipe, step-by-step application tips, and smart ways to customize it to your liking.
Key Takeaways
- Use fine-grained sugar to gently exfoliate without micro-tears.
- Moisturize immediately after scrubbing to lock in hydration.
- Scrub 1 to 3 times per week for best results.
- Store homemade scrub in an airtight container for up to 3 weeks.
- Skip the scrub if lips are cracked, bleeding, or irritated.
Why This Homemade Lip Scrub Works Wonders
Your lips are thinner and more delicate than the rest of your face, so they need gentle care. A homemade lip scrub works by physically buffing away the top layer of dead skin cells with fine sugar, revealing the fresh, softer skin underneath. The natural moisturizers in the recipe, like coconut oil and honey, nourish your lips as you exfoliate, leaving them smooth and hydrated. Best of all, this scrub takes just 5 minutes to make with ingredients you already have in your kitchen, and you’ll notice smoother lips immediately after the first use.
Your 5-Minute Homemade Lip Scrub Recipe
This simple recipe makes about 2 tablespoons of scrub, enough for several uses. Prep time is 5 minutes, and you can store it for up to 3 weeks.
- 2 tablespoons fine-grained sugar (white or brown) for gentle exfoliation without micro-tears.
- 1 tablespoon coconut oil, melted, to moisturize and bind the mixture.
- 1 teaspoon honey for its natural humectant properties that draw moisture to your lips.
- Optional: 1/4 teaspoon vanilla extract or a tiny drop of food-grade essential oil (like peppermint) for flavor and scent.
Mix all ingredients in a small bowl until you get a paste that holds together but isn’t runny. If it’s too dry, add a drop more oil; if too wet, add a pinch more sugar.
Step-by-Step: Mixing and Applying Your Lip Scrub
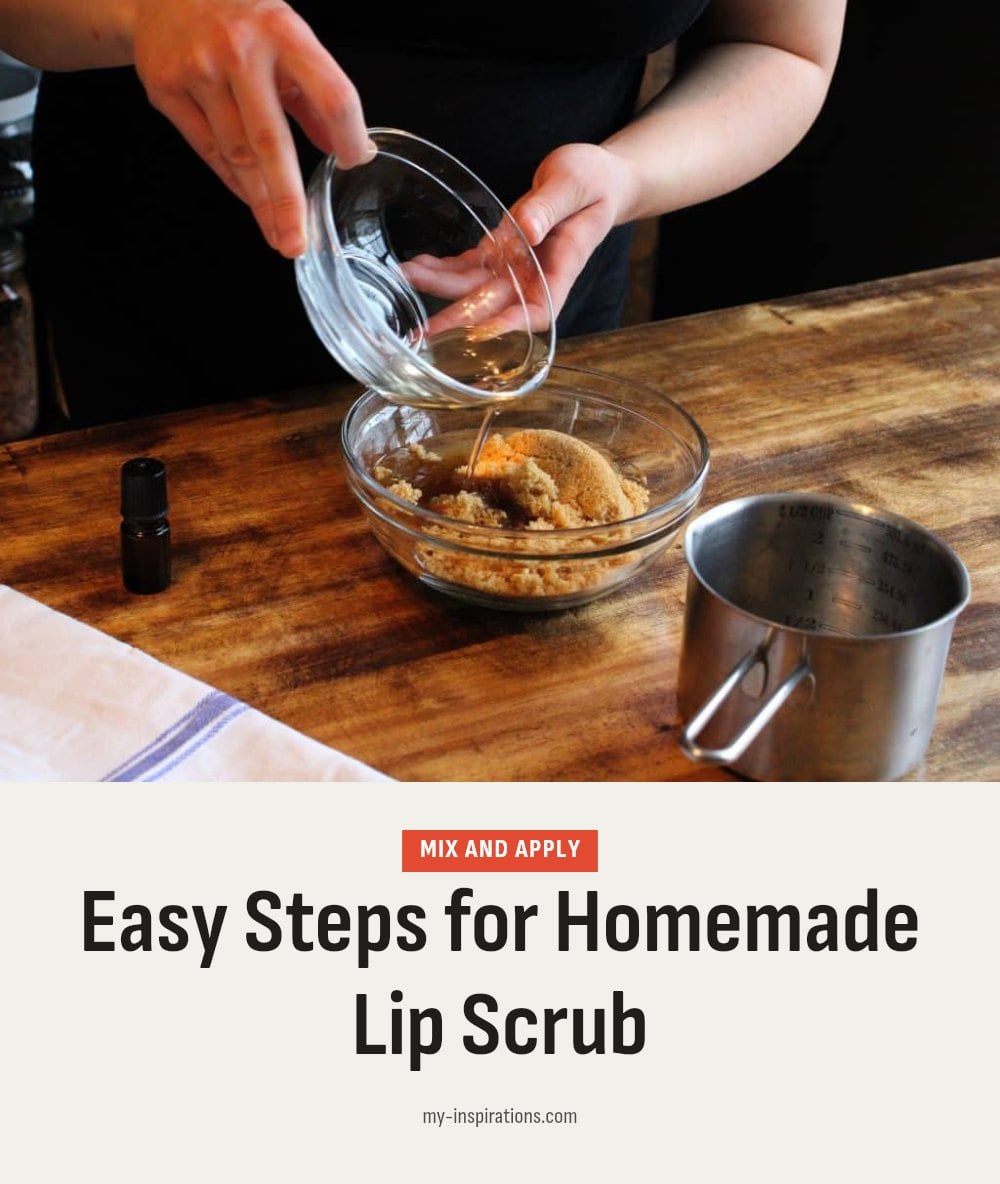
Follow these steps for the best results, and remember to be gentle throughout.
- Combine ingredients: In a small bowl, mix the sugar, coconut oil, honey, and any optional additions until you achieve a paste consistency that clings to a spoon.
- Prep your lips: Make sure your lips are clean and slightly damp. Dampness helps the scrub glide and prevents over-friction.
- Apply the scrub: Use clean fingers or a soft brush to scoop out a small amount, about the size of a pea.
- Massage gently: Rub the scrub onto your lips in slow, circular motions for 30 seconds. Do not press hard; the sugar does the work. Never scrub for longer than 60 seconds total.
- Rinse off: Rinse thoroughly with lukewarm water. Avoid hot water, which can strip moisture.
- Moisturize immediately: Pat your lips dry and apply a hydrating lip balm within a minute to lock in the moisture and protect the fresh skin.
Use this scrub 1 to 3 times per week. If your lips feel raw or sensitive afterward, you’re over-exfoliating, so cut back to once a week.
Prefer to watch? TiffyQuake walks through the whole method in this 3-minute video. The how-to part starts at 0:21.
Top Tips for the Best Lip Scrub Experience
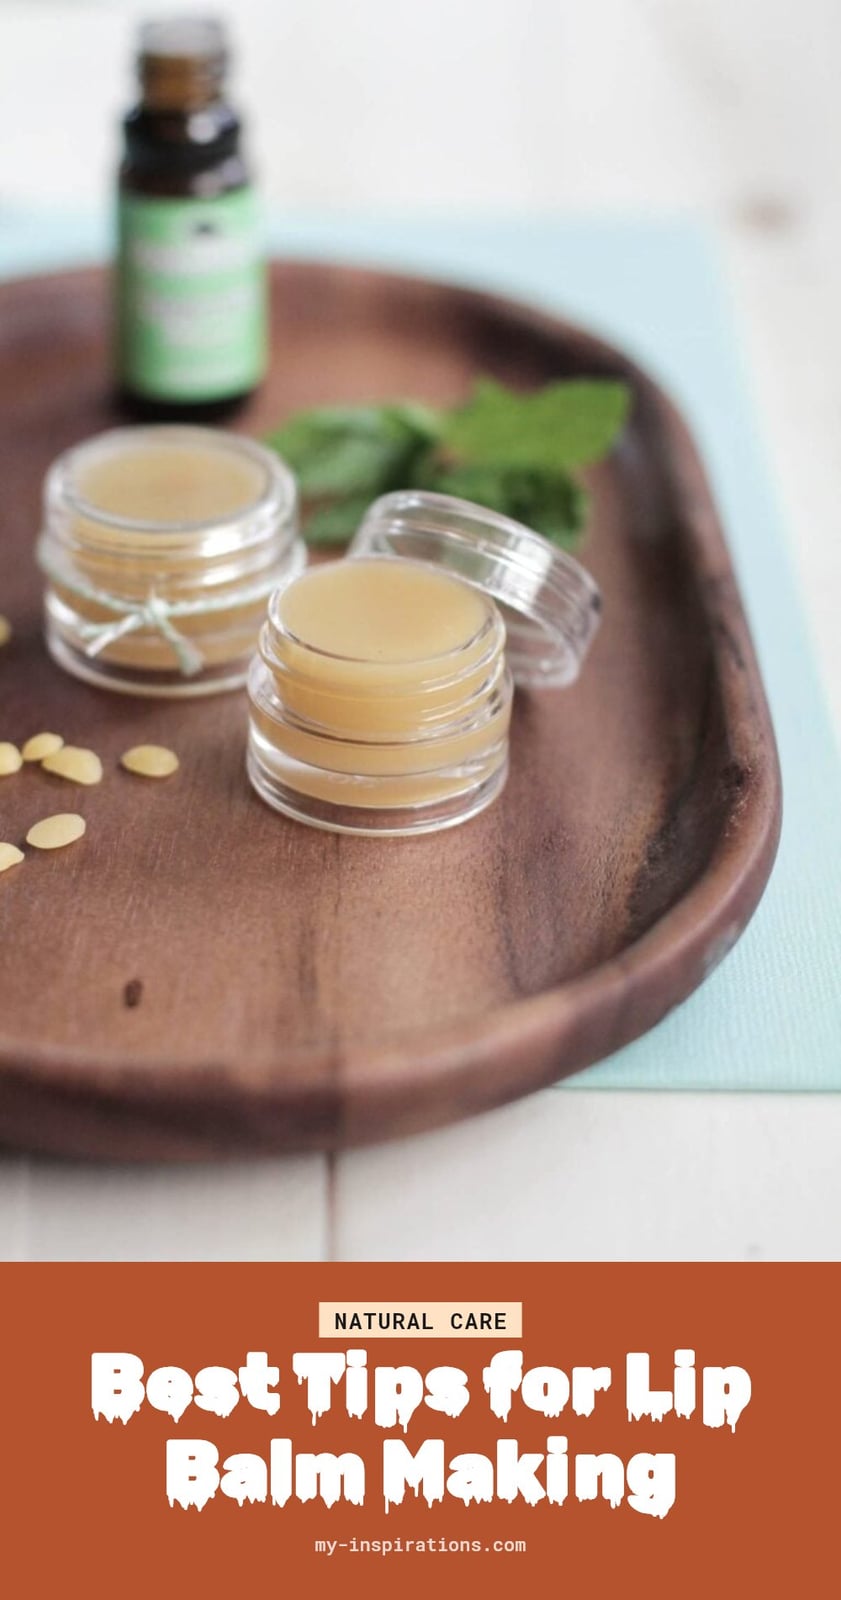
These tips will help you get the most out of your scrub without irritating your lips.
- Use fine sugar: Always choose superfine or castor sugar. Coarse sugar can create micro-tears on your delicate lip skin.
- Moisturize right after: Apply a lip balm or moisturizer immediately after scrubbing to lock in hydration and protect the newly exposed skin.
- Be gentle: Never scrub vigorously or for longer than 60 seconds. Light pressure and short strokes are all you need.
- Skip broken skin: Do not use a lip scrub on chapped, cracked, or irritated lips. It will worsen the damage and cause pain.
- Patch test new ingredients: If you have sensitive skin, test a small amount of the scrub on your inner arm 24 hours before using it on your lips, especially if you added essential oils.
Pro move: Keep your scrub in the fridge for a cooling, soothing effect, especially in summer.
Customize Your Scrub: Easy Variations for Every Preference
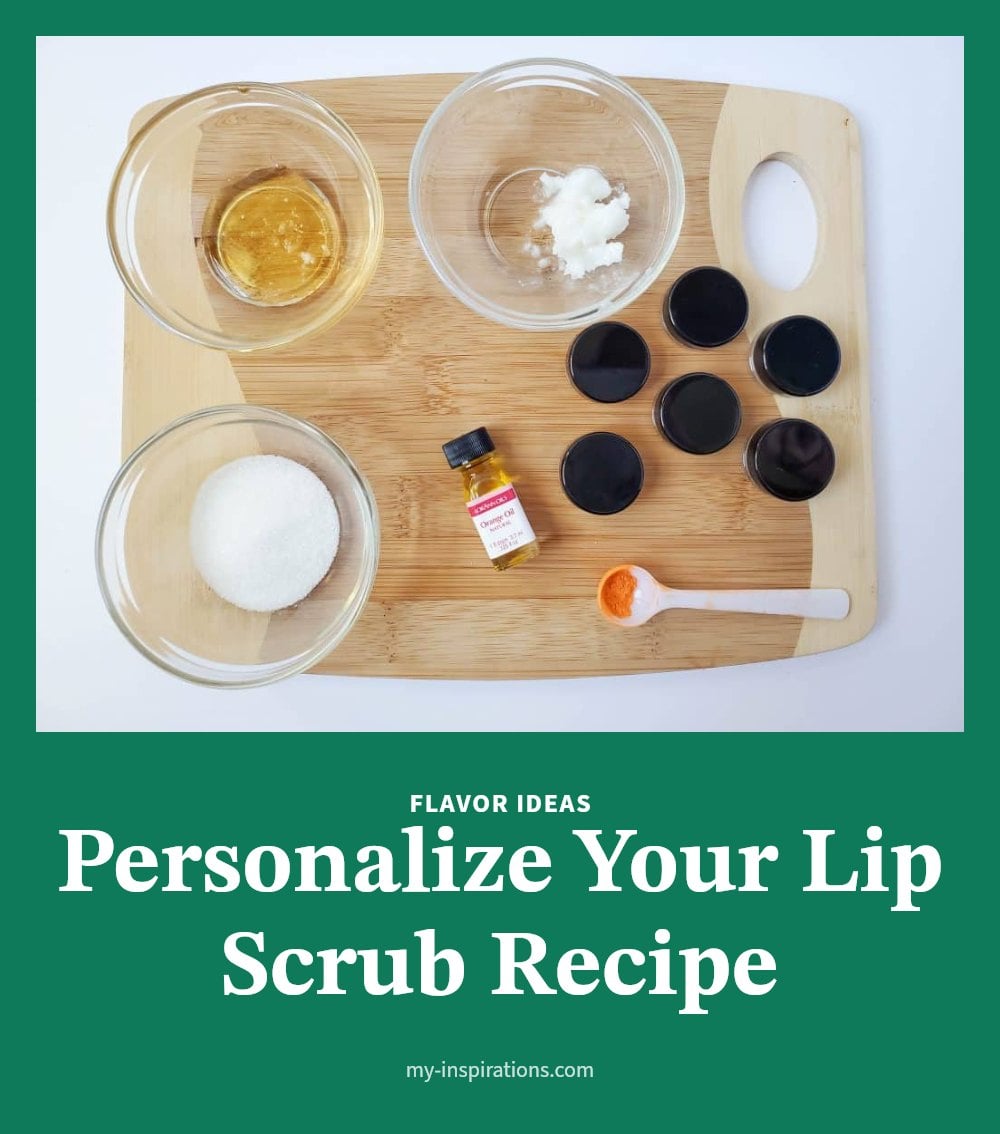
Swapping white sugar for brown sugar gives the scrub a slightly finer grain and a warm, caramel-like scent. It still exfoliates gently, just with a softer feel on your lips.
To boost moisture, replace part of the coconut oil with honey. Honey pulls water into your lips, so the scrub doubles as a hydrating treatment. Shea butter works the same way but creates a thicker, more spreadable paste. Melt a teaspoon with the oil before mixing.
For flavor, add one tiny drop of vanilla extract or peppermint essential oil. Caution: Essential oils are potent and can irritate delicate lip skin. Dilute them in the oil base first, and never use more than one drop per batch. If you have sensitive skin, skip the oil and stick with vanilla extract instead.
Storing Your Homemade Lip Scrub Safely
Transfer the scrub to a small airtight container right after mixing. A glass jar with a tight lid works well. Keep it in a cool, dark cabinet away from the stove or sink where humidity and heat can cause spoilage.
Because homemade scrubs lack preservatives, they stay fresh for only a few weeks. Always scoop out the scrub with clean fingers or a small, clean spatula. Dipping in wet or dirty hands introduces bacteria.
Check the scrub before each use. If the smell, color, or texture changes at all, toss it and make a fresh batch.
When to Skip the Scrub and See a Doctor
A lip scrub helps with flakiness, but it is not a treatment for damaged lips. Stop using the scrub immediately if you feel stinging, burning, or see excessive redness after application.
Skip the scrub entirely if your lips are severely chapped, cracked, bleeding, or have open sores. Scrubbing irritates these conditions and can slow healing. If you suspect an allergic reaction to an ingredient, rinse your lips with cool water and stop using that batch.
For chronic lip dryness or irritation that does not improve with at-home care, see a doctor or a dermatologist. They can identify underlying causes and recommend a proper treatment.
Frequently Asked Questions
How often should I use a lip scrub?
Use your homemade lip scrub 1 to 3 times per week. Over-exfoliating can lead to irritation and sensitivity, so start with once a week and increase if your lips tolerate it well. Always follow with a moisturizing balm.
Can I use salt instead of sugar in a lip scrub?
It’s best to stick with fine sugar. Salt crystals are often coarser and can tear the delicate skin on your lips, causing micro-tears and irritation. Sugar is also more gentle and dissolves easily, making it a safer choice for this sensitive area.
What if my lips are very chapped or cracked?
Skip the scrub entirely if your lips are severely chapped, cracked, or bleeding. Scrubbing broken skin can worsen irritation and delay healing. Focus on moisturizing with a thick balm until your lips are smooth and intact again.
How long do homemade lip scrubs last?
Because homemade scrubs lack preservatives, they generally last up to 3 weeks when stored in an airtight container in a cool, dark place. If you notice any off smell, change in texture, or color, it’s time to toss it and make a fresh batch.
Can I add essential oils to my lip scrub?
Yes, you can add essential oils for scent or flavor, but use them sparingly and with caution. Some oils can irritate sensitive skin or cause photosensitivity. Always dilute properly and do a patch test first, especially if you have sensitive skin.
Final Thoughts
For soft, smooth lips, mix up this simple sugar and coconut oil scrub, use it gently once or twice a week, and always follow with a nourishing balm. You’ll likely notice a difference right after the first use, but consistency is key for lasting results. Keep your scrub fresh in a cool, dark spot, and listen to your lips: if anything stings or feels too rough, give them a break.