Heat Protectant 101: When, How and How Much to Use
Learn exactly when, how, and how much heat protectant to use for blow drying and iron styling to prevent damage and keep your hair healthy.

Heat styling can transform your look, but it can also take a toll on your hair. The good news is that using a heat protectant the right way makes a real difference. This article walks you through when and how to apply heat protectant for blow drying and iron styling, how much to use, and how to pick the right formula for your hair type.
Key Takeaways
- Apply blow dry cream to damp hair before blow drying.
- Use a dedicated iron heat protectant spray on dry hair before flat ironing or curling.
- Use a pea-sized amount of blow dry cream, adjusting for hair length.
- Spray iron protectant on 2-3 inch sections, covering both top and underneath.
- Even with protectant, use the lowest effective heat setting.
What is Heat Protectant and Why Do You Need It?
Heat protectant is a styling product that forms a protective barrier on your hair, reducing damage from hot tools. It helps distribute heat evenly, preventing breakage, split ends, and dryness. Because blow dryers and irons operate at very different temperatures (around 170°F for dryers, 400°F for irons), you need different types of protectants: a blow dry cream for wet hair before blow drying, and an iron spray for dry hair before flat ironing or curling.
Your Heat Styling Arsenal
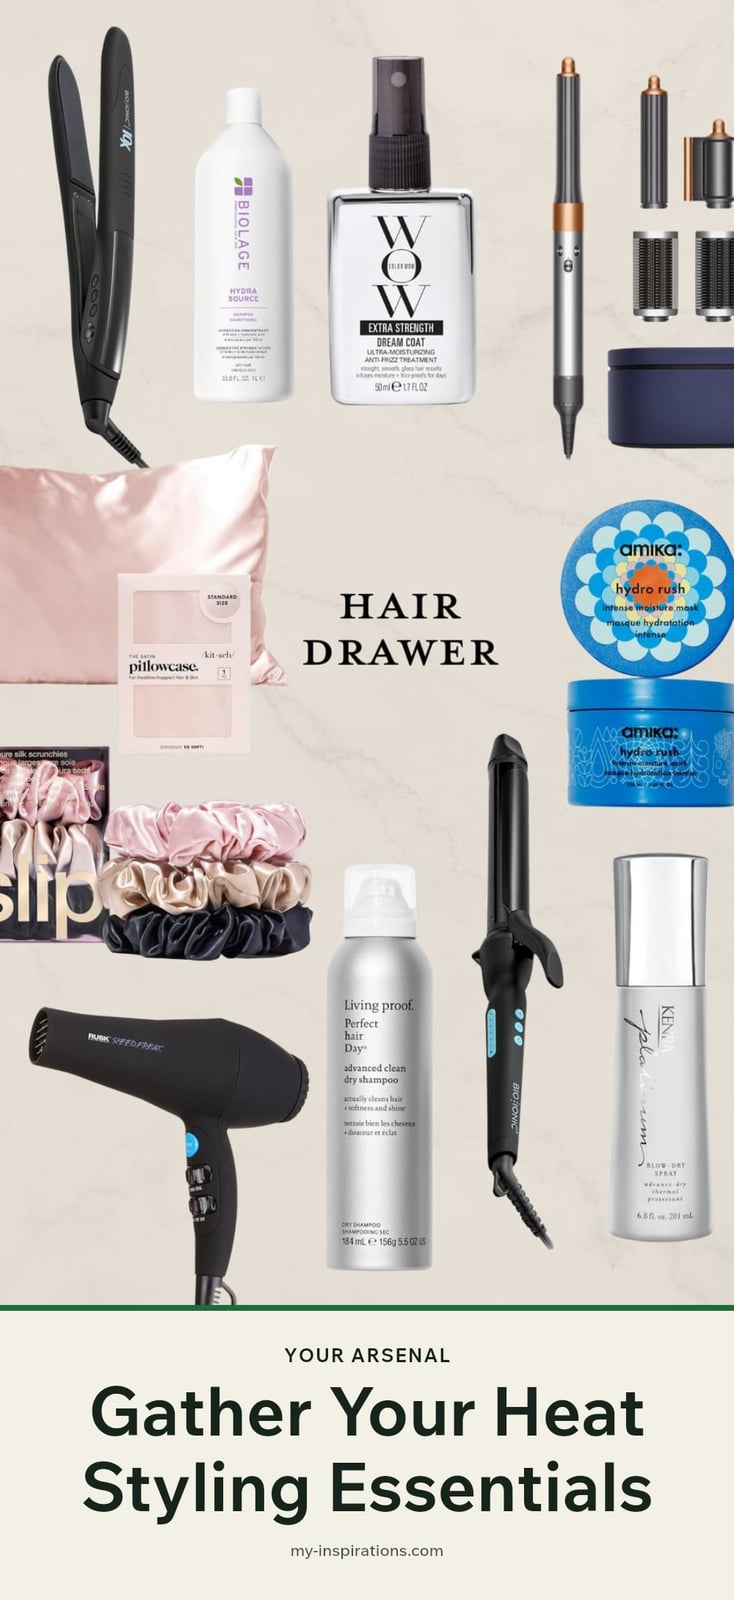
To protect your hair during heat styling, you need the right products and tools:
- Blow dry cream: For wet hair before blow drying, offering heat protection plus styling benefits like shine and volume.
- Iron heat protectant spray: For dry hair before using a flat iron or curling iron, providing targeted protection against higher heat.
- Wide-tooth comb: For evenly distributing the product through your hair.
- Blow dryer, flat iron, or curling iron: Your styling tools, each requiring the appropriate protectant.
Step-by-Step: Applying Heat Protectant for Blow Drying
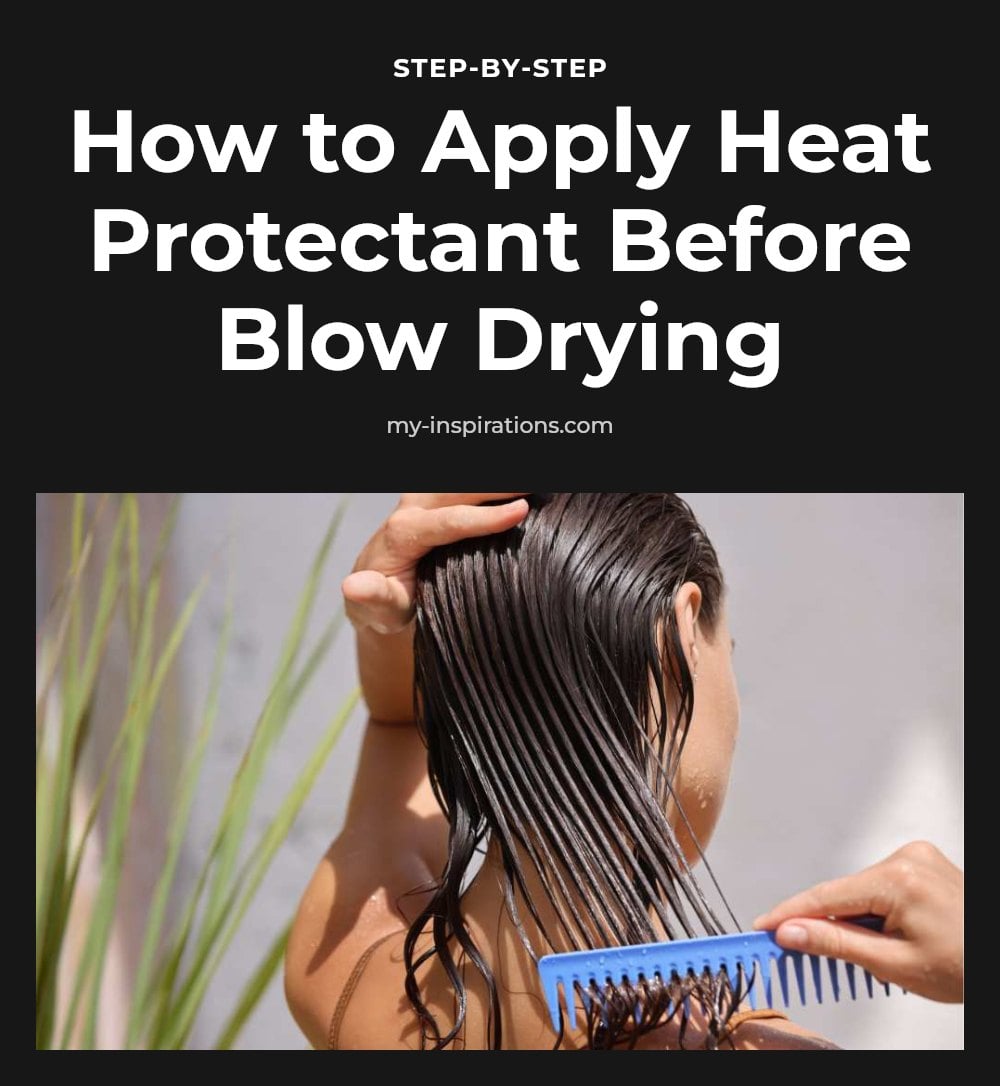
Start with a healthy hair routine using shampoo, conditioner, and at least two other products that support hair health. This foundation helps your hair withstand heat better.
- Dispense product: Squeeze a pea-sized amount of blow dry cream into your palm. Use more for very long hair, less for very short hair.
- Warm it up: Rub your palms together to spread the cream evenly.
- Apply to ends first: Work the cream into the ends of your hair, then move up to the mid-lengths. Avoid heavy application on the scalp.
- Cover all sections: Make sure you get product on both the top and underneath sections of your hair.
- Comb through: Use a wet brush to comb through your hair for 30-60 seconds, ensuring even distribution.
- Blow dry section by section: Dry each section until the water evaporates and the hair starts to warm up, then move to the next section. Stop once the hair is dry and warm, as continuing to blow dry dry hair causes damage.
Here is the method in action: Blowout Professor demonstrates it in about 13 minutes. The how-to part starts at 2:43.
Step-by-Step: Applying Heat Protectant for Iron Styling
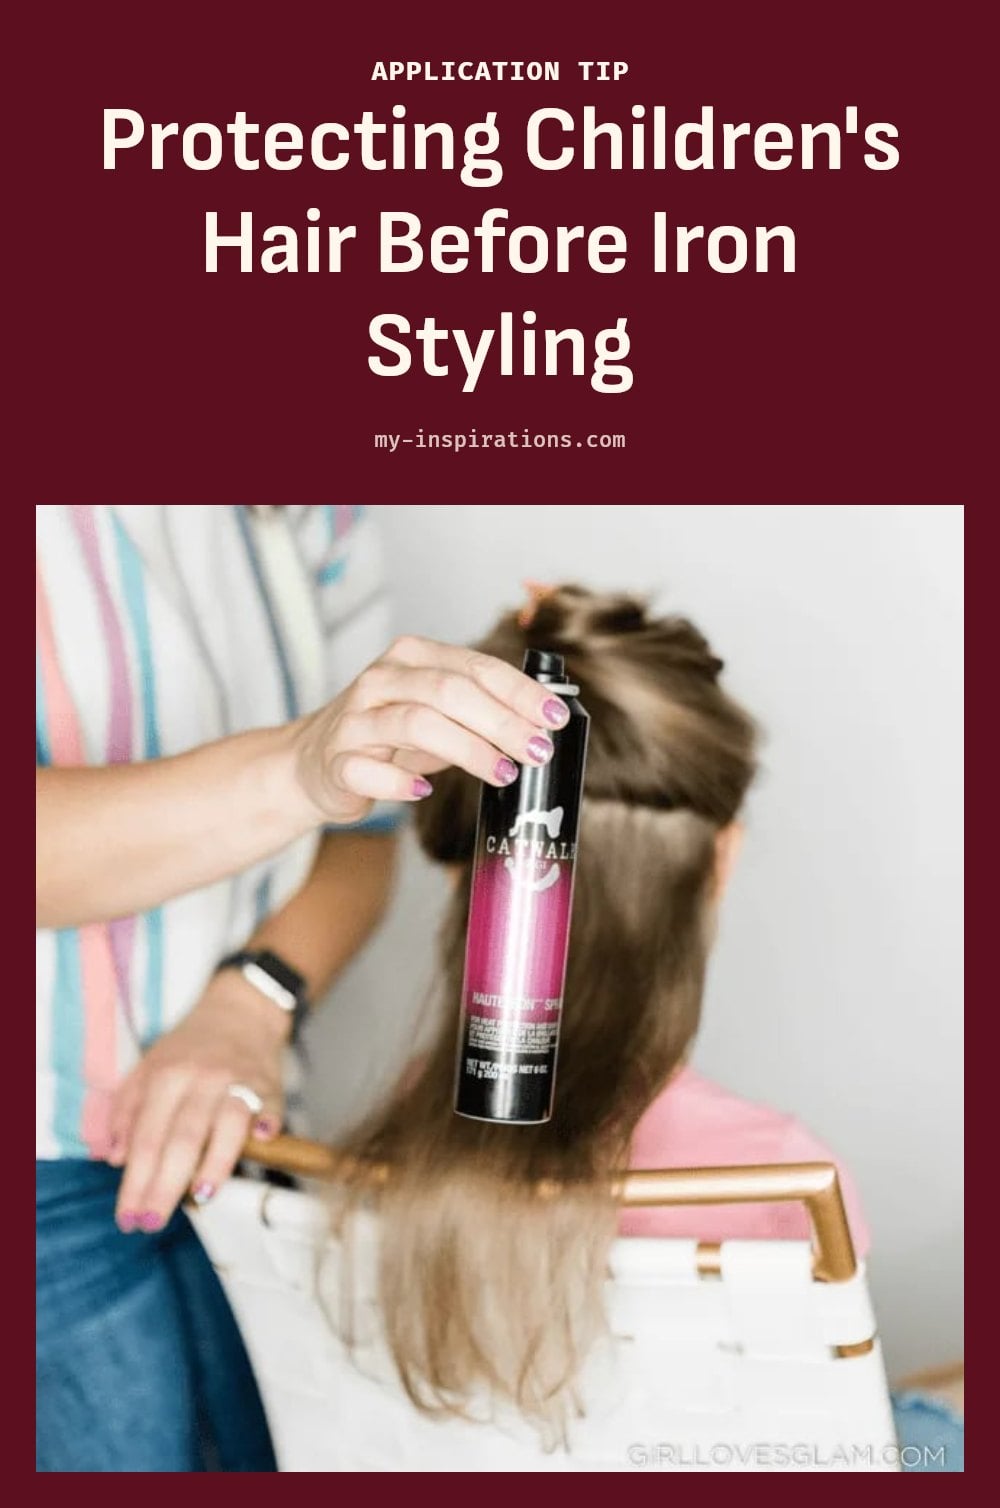
For flat ironing or curling, use a dedicated iron heat protectant spray on completely dry hair. This is crucial because irons reach much higher temperatures than blow dryers.
- Section your hair: Take a small section about 2-3 inches tall.
- Spray thoroughly: Spray the heat protectant on that section, ensuring full coverage. Don’t just spray the outer layer; lift the hair to reach the underneath.
- Style the section: Use your flat iron or curling iron on the sprayed section.
- Repeat: Continue with the next section, spraying and styling each one until all your hair is done. This method ensures even protection and prevents using too much or too little product.
Choosing the Right Heat Protectant for Your Hair
Different hair types need different heat protectant formulations. Here’s a quick guide to choosing the right one for your needs.
| Formulation | Best For | Key Benefit |
|---|---|---|
| Lightweight spray | Fine to medium hair | Adds volume without weighing hair down |
| Cream | Thick or coarse hair | Provides moisture and frizz control |
| Serum | Dry or damaged hair | Adds shine and smooths cuticles |
| Blow dry cream | All hair types before blow drying | Combines heat protection with styling benefits |
| Iron spray | Dry hair before flat iron or curling iron | Direct protection at high temperatures |
For fine to medium hair, a lightweight spray or a volumizing blow dry cream like Redken Big Blowout works well. Coarse hair benefits from richer creams like Redken Frizz Dismiss. Beginners with iron styling should try a forgiving spray like Redken Hot Sets 22, which won’t leave hair crunchy.
Common Heat Protectant Mistakes to Avoid
Even with the best product, small mistakes can reduce protection. Here’s what to avoid.
- Applying only to the top layer: Heat damage hits the underneath sections too. Lift sections and spray or cream both the top and bottom of your hair.
- Using too much product: A pea-sized amount of cream is enough for most hair. More than that can leave hair greasy or heavy.
- Applying iron protectant all at once: Spray section by section as you style. Applying to all hair at once leads to uneven coverage or using too much product.
- Continuing to blow dry after hair is dry: Once the water evaporates and hair warms up, the damage starts. Move to the next section.
- Skipping blow dry cream: This product does double duty, protecting from heat and improving your blowout’s finish. Don’t skip it.
- Believing heat protectant makes hair invincible: It reduces damage significantly, but it doesn’t eliminate it. Use the lowest effective temperature and limit heat styling frequency.
Pro Tips for Maximizing Heat Protection
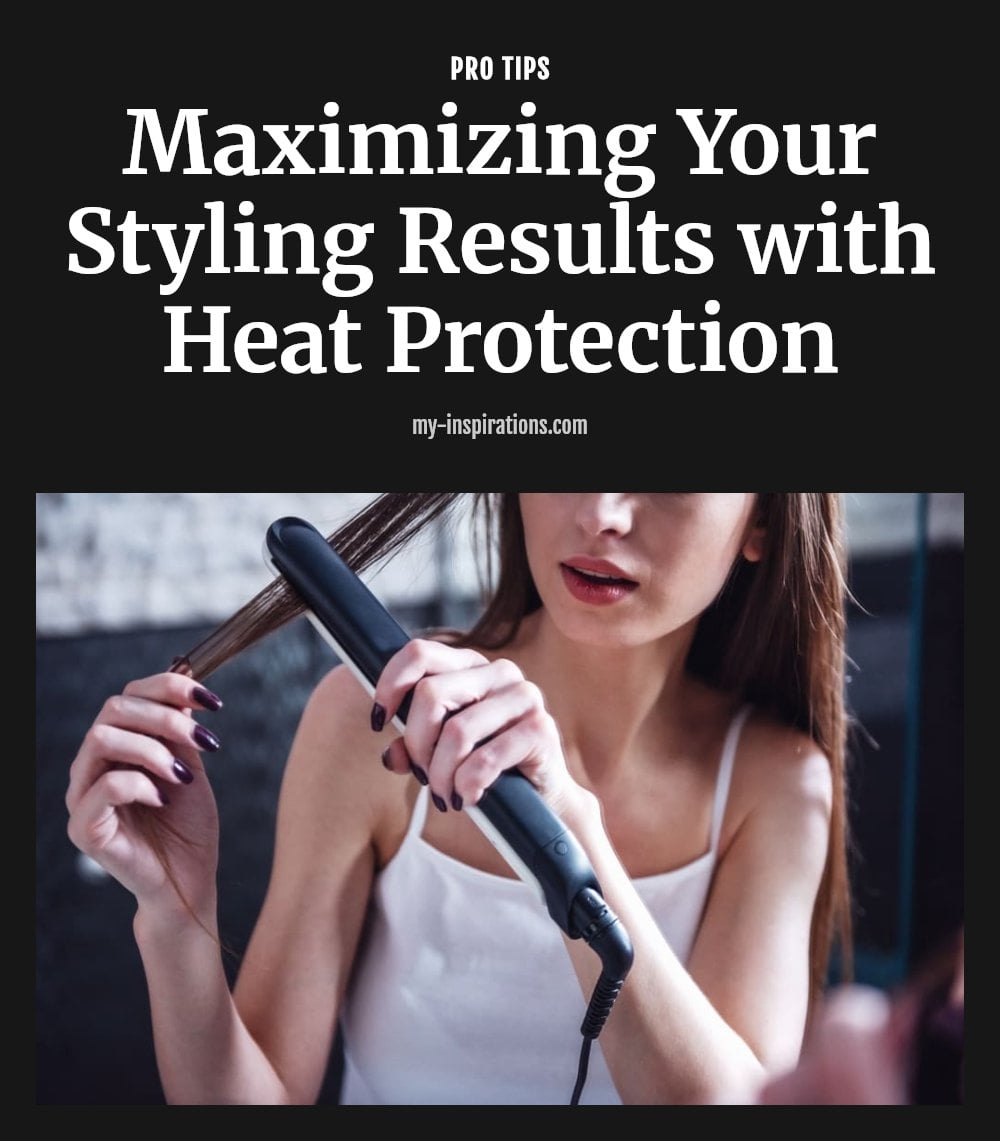
These tips will help you get the most out of your heat protectant routine.
- Always start with a healthy hair routine: Use shampoo, conditioner, and at least two other products that support hair health. Strong hair handles heat better.
- Use the lowest effective temperature: Even the best protectant can’t undo damage from excessive heat. Set your tools as low as your hair type allows.
- Allow spray protectants to dry: Wait a few seconds after spraying before applying heat. This lets the product set for even coverage.
- Don’t apply to soaking wet hair: Water conducts heat and can cause severe damage. Towel-dry hair first for blow drying; for iron styling, hair must be completely dry.
- Consider combining products: If you want both volume and smoothing, use a pea-sized amount of Olaplex 6 for frizz control with a volumizing blow dry cream like Redken Big Blowout. Adjust amounts for your hair length.
When to Consult a Professional
Most people can use heat protectants safely on their own, but two situations call for professional help.
- Scalp irritation or allergic reaction: If you develop redness, itching, or burning after using a product, stop immediately. Rinse your hair and scalp thoroughly. See a dermatologist if symptoms persist.
- Persistent damage despite proper use: If your hair continues to show severe breakage, extreme dryness, or other damage even with consistent heat protectant use and correct technique, visit a stylist. They can assess your hair’s condition and recommend targeted treatments or adjustments to your routine.
Frequently Asked Questions
What are the main ingredients in heat protectants?
Heat protectants often contain silicones like dimethicone and cyclomethicone, which smooth the cuticle and create a protective layer. Hydrolyzed proteins help strengthen hair and reduce breakage, while oils like argan or coconut add moisture. These ingredients work together to shield hair from high temperatures.
Can I use one heat protectant for both blow drying and iron styling?
It’s best to use different products for each. Blow dry creams are designed for wet hair and lower heat, while iron sprays are formulated for dry hair and higher temperatures. Using the right type ensures proper protection and better results.
How often should I use heat protectant?
Use it every time you heat style, even if you only style occasionally. Skipping it, even once, leaves your hair vulnerable to damage. For best results, apply it fresh before each session rather than relying on leftover product from a previous day.
Does heat protectant make hair invincible to damage?
No, heat protectant significantly reduces damage but doesn’t eliminate it entirely. You should still use the lowest effective temperature on your tools and avoid over-styling. Think of it as a safety measure, not a free pass.
What if I experience scalp irritation from a heat protectant?
If you get redness, itching, or burning after using a product, stop using it right away. Rinse your hair and scalp thoroughly with water. If irritation persists, see a dermatologist for advice.
Final Thoughts
To get the most from your heat styling, always pair a healthy hair routine with the right protectant. Use a blow dry cream for blow drying and a dedicated iron spray for flat irons or curling irons. Apply the product evenly, section by section, and stick to the lowest heat setting that works. With consistent use, you’ll notice less breakage and dryness over time, though heat protectant can’t make hair invincible. Make it a habit every time you style, and your hair will thank you.
This article is for general information only and is not a substitute for professional advice. If you have a persistent scalp issue, allergic reaction, or other serious concern, please consult a dermatologist or healthcare provider.